Error Handling and Troubleshooting
When building applications with platformOS, encountering errors is a part of the journey. But don’t worry—understanding how to troubleshoot and handle errors can make your development process much smoother. This part of the tutorial will guide you through accessing logs and effectively debugging your application to resolve common issues.
Why Error Handling is Important

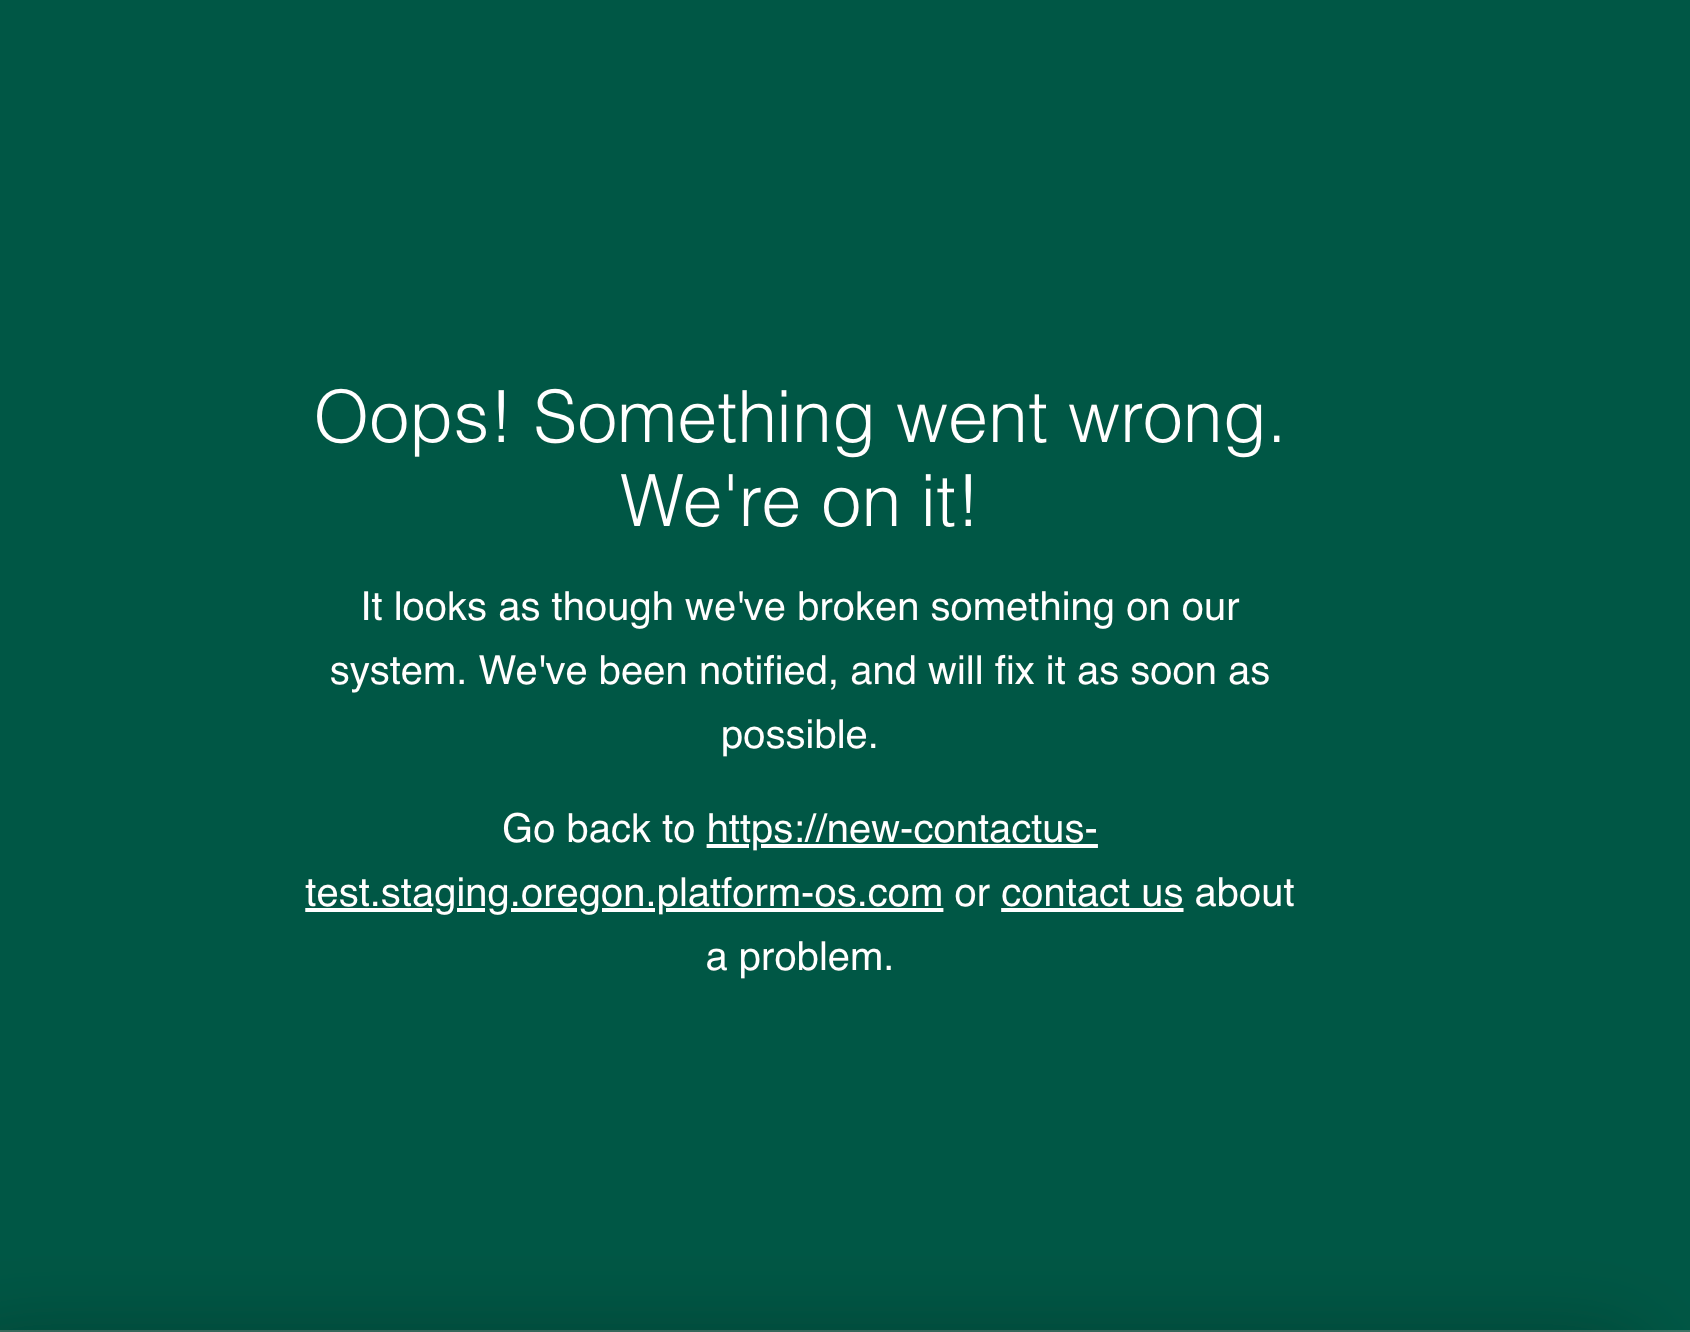
Imagine you've just implemented a new feature, and when you try it out, you encounter a 500 error. It can be frustrating, especially if you're not sure what went wrong. That's why learning how to access logs and interpret error messages is so important. Logs provide valuable insights into what’s happening behind the scenes, allowing you to identify issues quickly.
Accessing Logs
To start troubleshooting, you'll need to view your logs. The pos-cli makes this easy! Here’s how to access your logs using the pos-cli GUI:
Start the GUI
Open your command line and run:
pos-cli gui serve --sync staging
Note
Replace staging with the environment you're working on. To view all available environments, use pos-cli env list.
Open the Logs
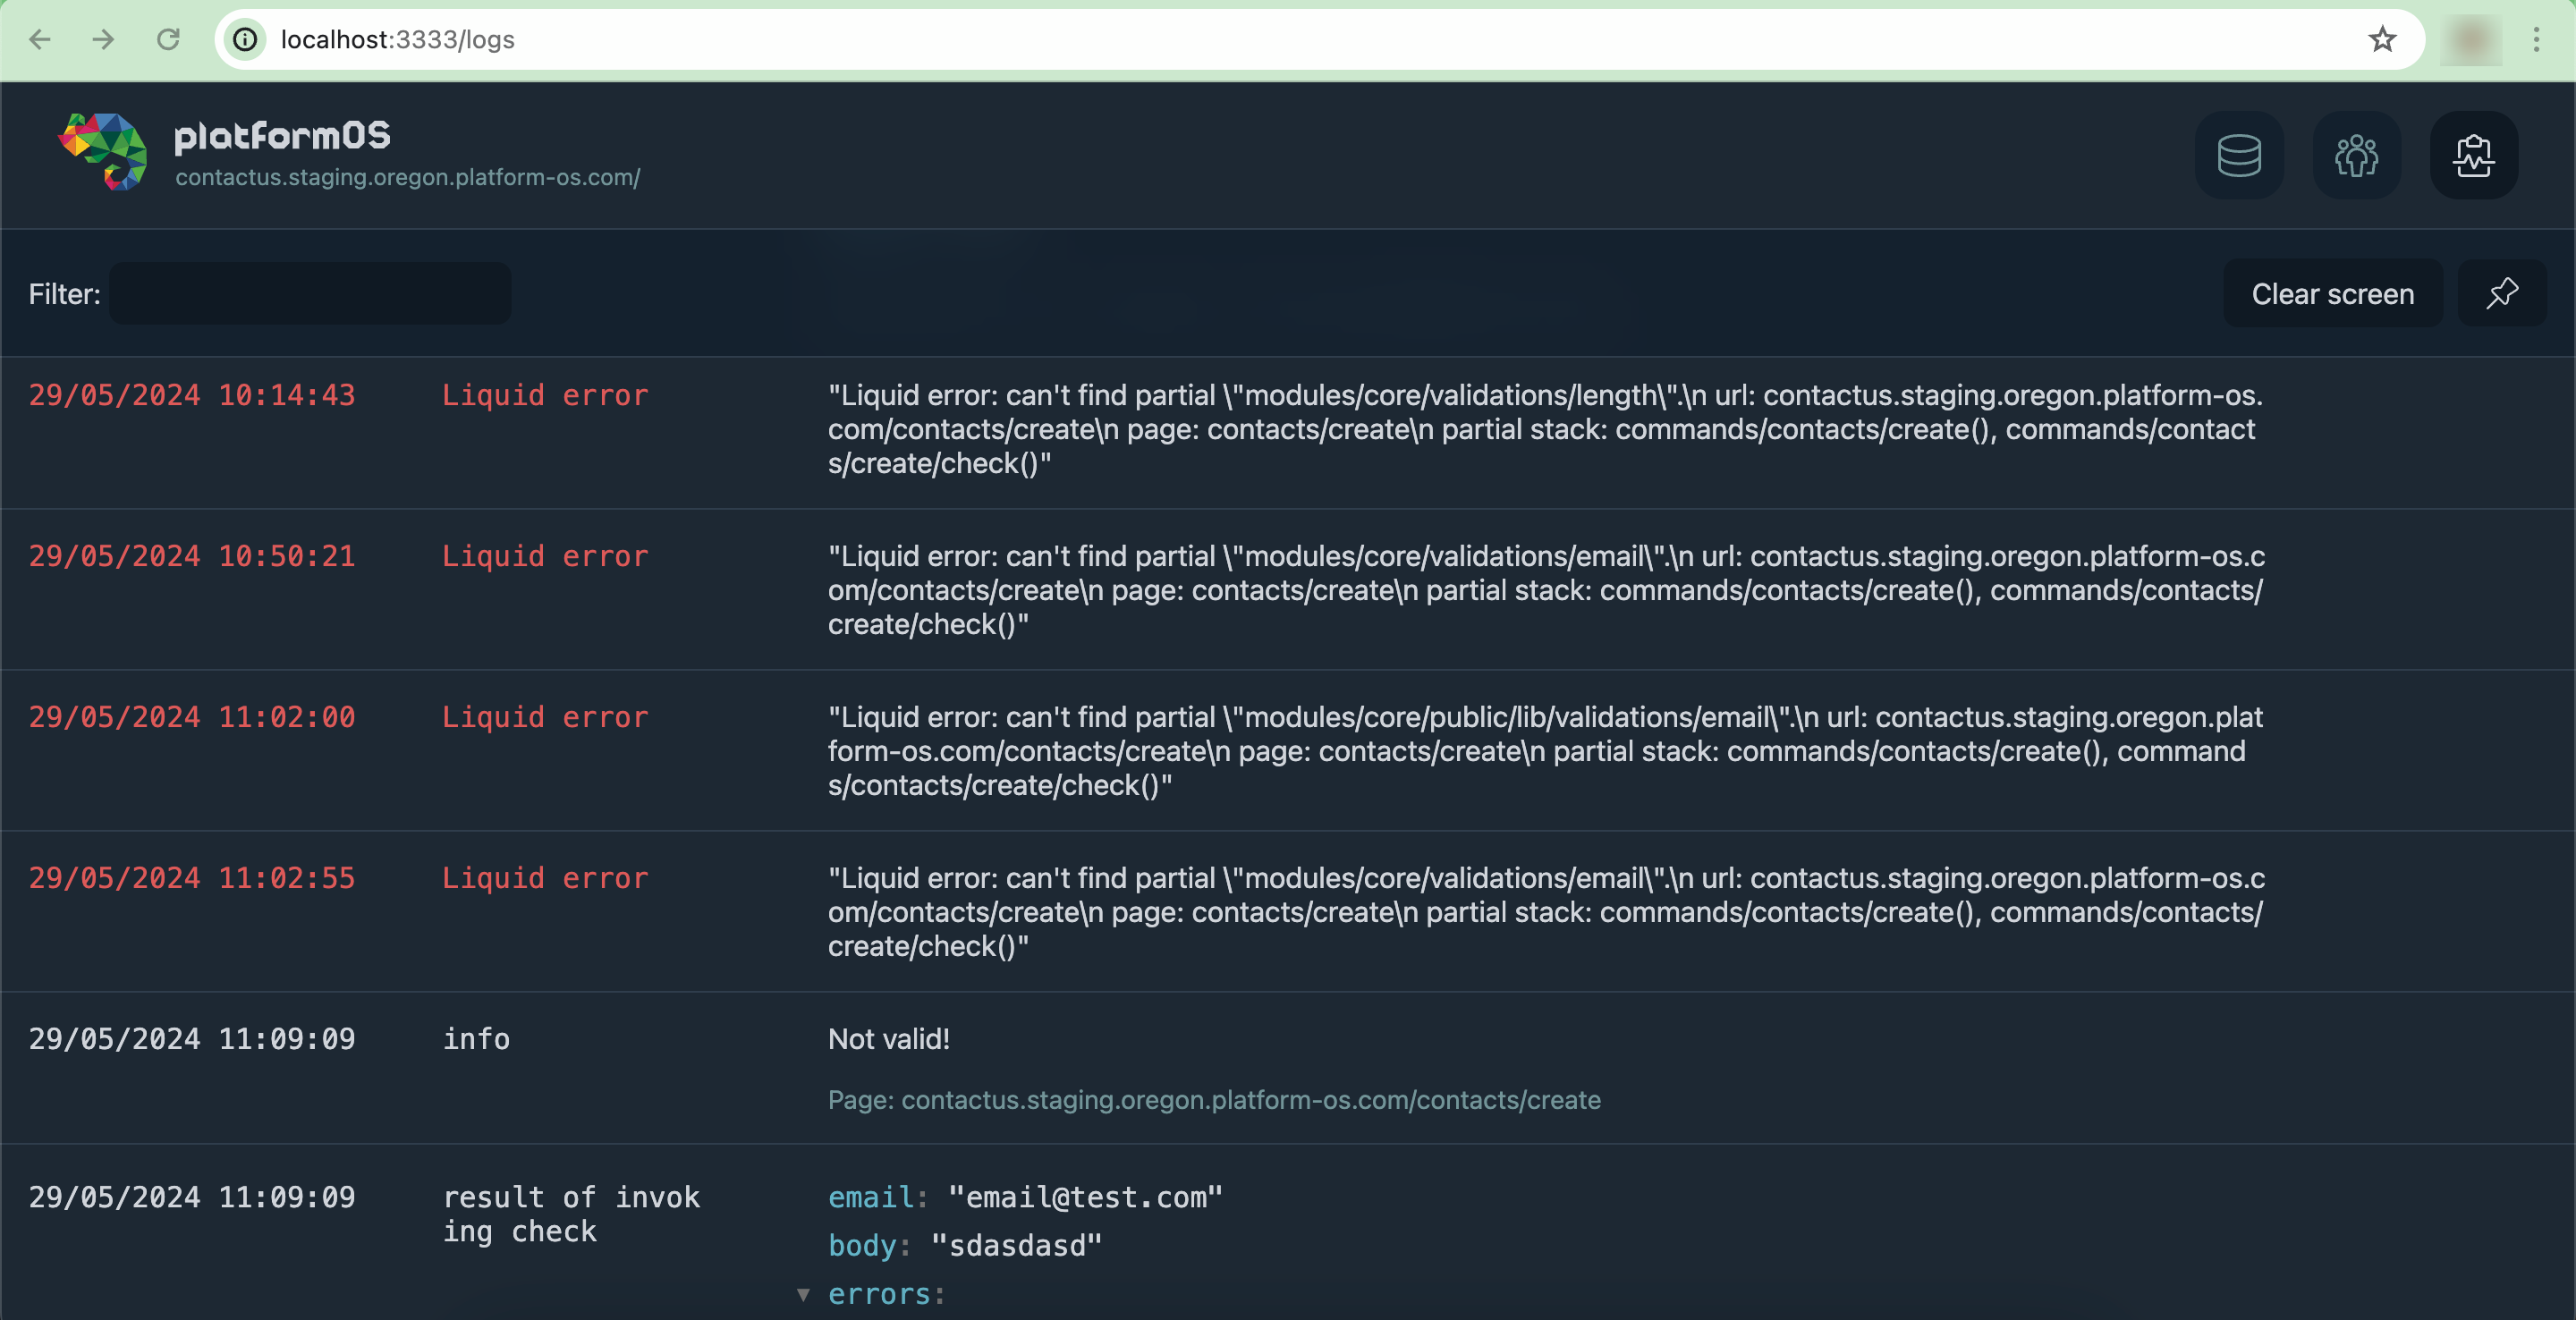
After starting the GUI, you’ll see output that includes a link to your logs. Open your browser and go to http://localhost:3333/logs to view them.

Use the CLI
Alternatively, you can check the logs using the command line. Run the following command:
pos-cli logs staging

Common Errors
While developing your application, you may encounter several types of errors. Here are some common ones and how to troubleshoot them:
Liquid Errors
These are often due to syntax mistakes in your Liquid code. For example, if you add an extra comma, you might see an error in the logs like this:
[2024-05-29 07:16:29.566Z] - Liquid error: "Liquid error: parse_json filter error: Invalid JSON: expected hash key..."
To resolve this, check your Liquid templates for typos or syntax errors, and refer to the logs for clues.
Debugging with Logs
Using the log tag helps you identify and fix problems. Here’s how to make the most of your logs during the debugging process:
Add Logging Statements
You can add logging to your commands to capture important information. For example, in your create.liquid file, you might log whether the data passed validation:
{% if contact_after_validation.valid %}
   {% log "Valid!" %}
{% else %}
   {% log "Not valid!" %}
{% endif %}
Analyze Log Output
After introducing logging statements, check your logs again. If there’s an error, the logs will indicate what went wrong, helping you understand the issue quickly.
Example: Debugging a Syntax Error using Logs
Imagine you accidentally introduce a syntax error by adding an unnecessary comma in your code. This is a common mistake that can lead to issues. For example, in your build.liquid file, you might have an extra comma:
{% parse_json contact %}
  {
    "email": {{ object.email | downcase | json }},
    "body": {{ object.body | json }},
  }
{% endparse_json %}
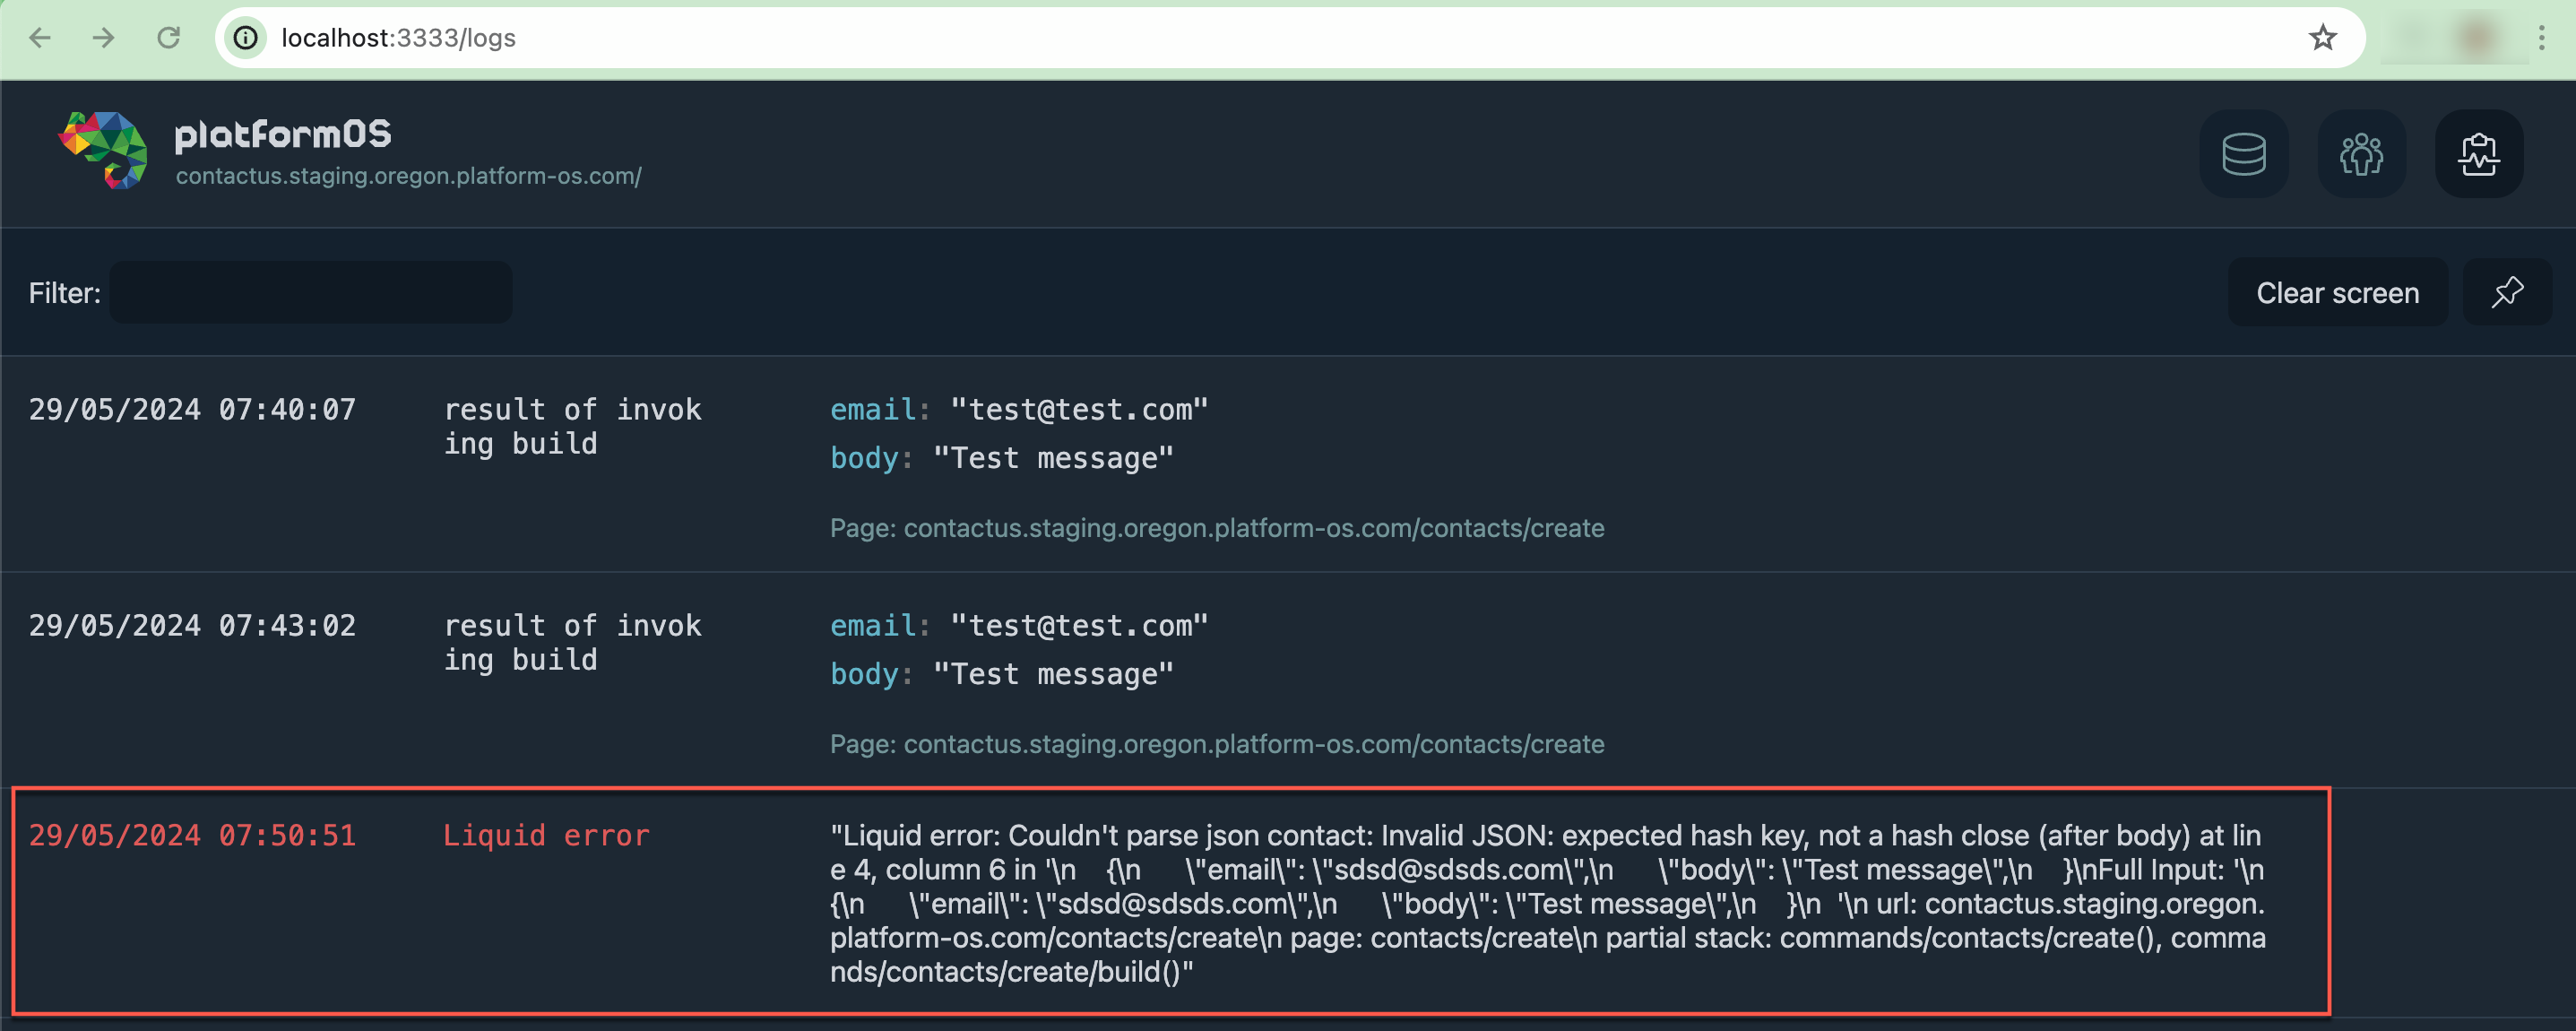
When you submit a form with this error, the logs will reveal a Liquid error indicating a parsing issue:

To resolve this, remove the extra comma from the code. After fixing it and resubmitting the form, the log should now show successful validation, reflecting that the error has been addressed.