Understanding and Using Context
Understanding context
{{ context }} is a global object accessible in every Liquid file of the project. This includes pages, partials and layouts, as well as Email, SMS, and API Call Notifications. It is the only predefined object that you will use when working with platformOS. This is because you are able to create your own Objects.
Note
Read more about context in the Liquid - platformOS Objects documentation.
Understanding context.params
One of the properties of the global {{ context }} object is params, which captures all parameters sent to the endpoint. This includes form data, query parameters, and other request details. In our example, {{ context.params }} helps us see exactly what data is being sent to the /contacts/create endpoint.
When working with form submissions and URL parameters in platformOS, context.params is a key concept to understand. It allows you to access the parameters that users submit, and these parameters can be extracted and used within your Liquid templates to dynamically handle user input. Let's dive into how you can use context.params.
Note
All parameters submitted by the user are available in context.params. This allows you to access and use these parameters within your Liquid templates, making your applications dynamic and responsive to user input. Read more about context.params in the platformOS documentation.
Adding parameters to your template
The following sections are not part of the main task; they are provided for demonstration purposes. However, we recommend following along and using the code snippets to gain a better understanding of this concept. If you understand how context.params work already, skip this chapter and continue from Using context.params in the create.liquid file.
First, let's see how parameters can be accessed in a Liquid template. In the previous step, we added
Hello {{ context.params }}
to our /app/views/pages/contacts/create.liquid file.
For testing purposes, temporarily add the following code to your app/views/pages/index.html.liquid file:
app/views/pages/index.html.liquid
My parameters {{ context.params }}

<h2>Contact Us</h2>
<form action="/contacts/create" method="post">
<input type="hidden" name="authenticity_token" value="{{ context.authenticity_token }}">
    <div>
        <label for="email">Email</label>
        <input type="text" name="contact[email]" id="email">
    </div>
    <div>
      <textarea name="contact[body]"></textarea>
    </div>
    <input type="submit" value="Send">
  </form>
Navigate to your home page. You should see something like:
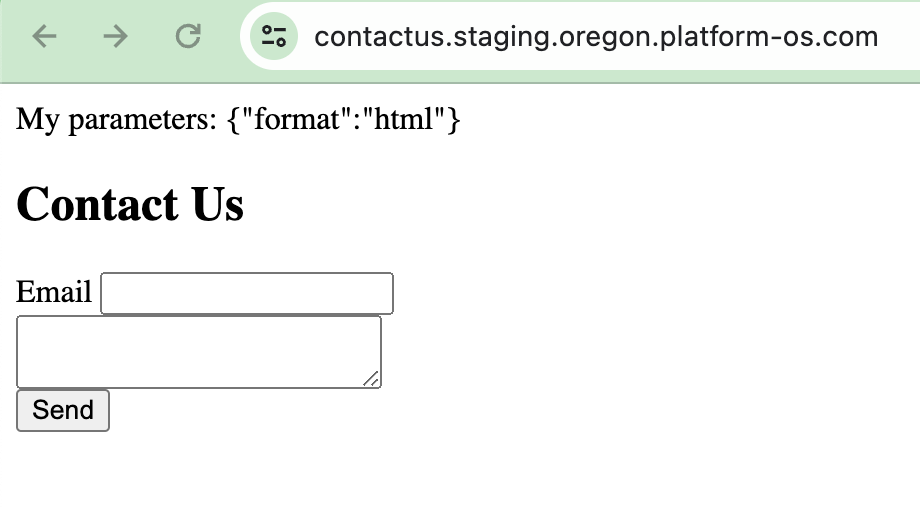
My parameters {"format":"html"}
You might notice that there are no parameters initially displayed, except the default HTML format. This is because parameters need to be explicitly provided in the URL or through form submissions.
Example URL with parameters
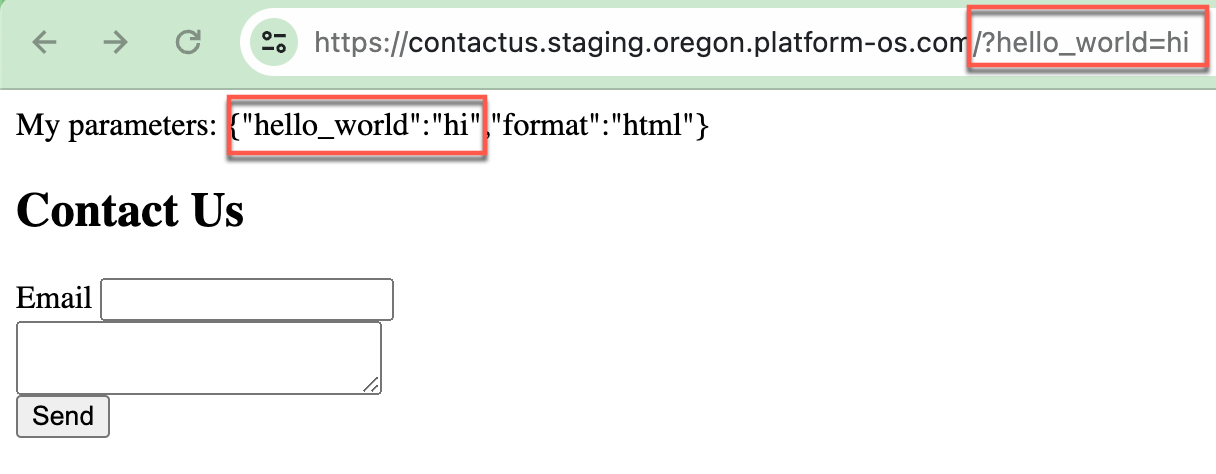
To see how parameters work, add a query parameter to the URL in your browser:
/?hello_world=hi
The page will display:
My parameters: {"hello_world":"hi","format":"html"}
Here, hello_world is the key, and hi is its value.
Providing multiple parameters
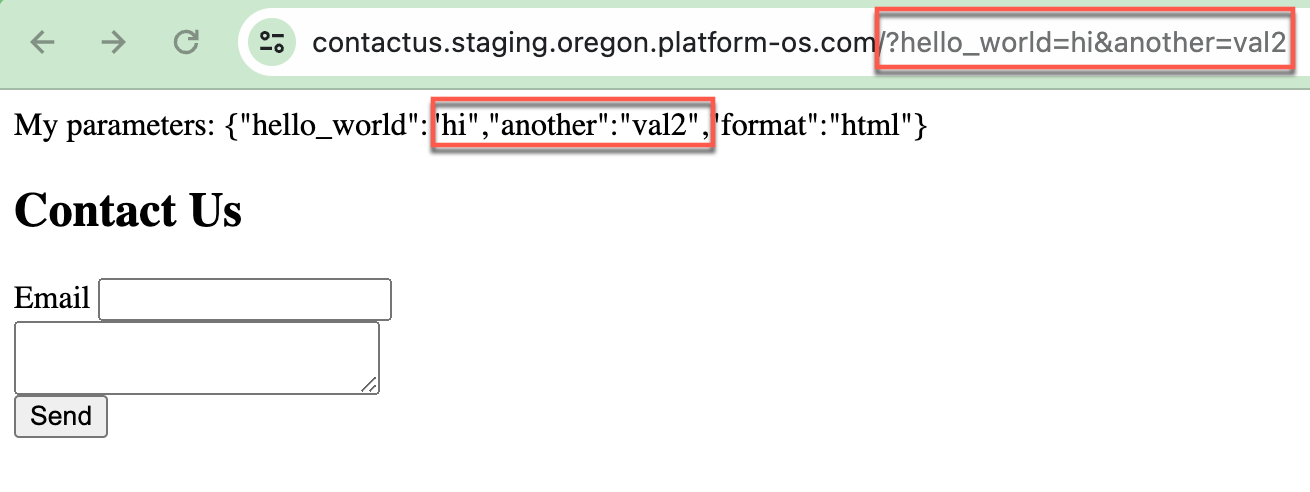
You can provide multiple parameters in the URL like this:
/?hello_world=hi&another=val2
This will display:
My parameters: {"hello_world":"hi","another":"val2","format":"html"}
Using arrays and hashes
You can also provide an array of attributes. For example:
/?hello_world=hi&another=val2&arr[]=1&arr[]=2
This will display:
My parameters: {"hello_world":"hi","another":"val2","arr":["1","2"],"format":"html"}

You can even include hashes:
/?hello_world=hi&another=val2&arr[]=1&arr[]=2&test[debug]=hello
This will display:
My parameters: {"hello_world":"hi","another":"val2","arr":["1","2"],"test":{"debug":"hello"},"format":"html"}

This output shows all the parameters passed in the URL.
Filtering specific parameters
/?hello_world=hi&another=val2&arr[]=1&arr[]=2&test[debug]=hello
To access nested parameters, such as the value of test[debug], modify your code:
app/views/pages/index.html.liquid
My parameters: {{ context.params.test.debug }}
This would display:
My parameters: hello

Nested parameters are structured in a way that allows you to access specific parts of a data object. For example, if you have a parameter structure like test[debug]=hello, you can access the debug value within the test object using dot notation in Liquid templates.
Similarly, if you have an array passed as a parameter, you can access it using the following syntax:
app/views/pages/index.html.liquid
My parameters: {{ context.params.arr }}
This would display:
My parameters: ["1","2"]

When you access {{ context.params.arr }}, platformOS retrieves the array associated with the arr key. In this case, the array contains the values 1 and 2.
Clean up your code
As this exercise was for demonstration purposes, remove:
My parameters: {{ context.params }}
from your index.html.liquid file. Ensure the file looks like this:
app/views/pages/index.html.liquid
<h2>Contact Us</h2>
<form action="/contacts/create" method="post">
<input type="hidden" name="authenticity_token" value="{{ context.authenticity_token }}">
    <div>
        <label for="email">Email</label>
        <input type="text" name="contact[email]" id="email">
    </div>
    <div>
      <textarea name="contact[body]"></textarea>
    </div>
    <input type="submit" value="Send">
  </form>
With the above steps followed, we hope this guide has given you a clear understanding of handling parameters in your platformOS applications.
Using context.params in the create.liquid file
With the understanding that all parameters submitted by the user are available in context.params, let’s see how to use it in our Contact Us form.
Note
All parameters submitted by the user are available in context.params. This allows you to access and use these parameters within your Liquid templates, making your applications dynamic and responsive to user input.
Add context.params to the create.liquid file
We previously added the following code our create.liquid file:
app/views/pages/contacts/create.liquid
---
method: post
---

Hello {{ context.params }}
Now, if you fill in the form and hit Send with some test data, you will get a similar response:
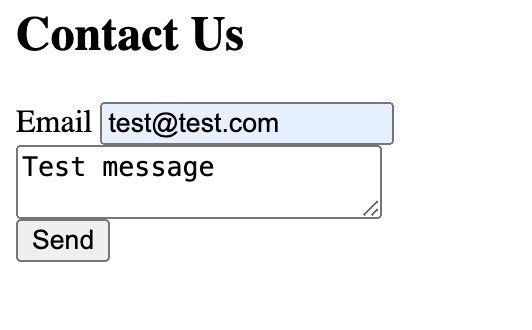
Hello {"authenticity_token":"Fg1MsbAzN42maOhvTLZll3jF-NwGrguar7BgrXfwmnts0usK9dCkwEtqposxcU4_Otdk28UDPRPeX-8py2c9ng","contact":{"email":"[email protected]","body":"Test message"},"slug":"contacts","slug2":"create","format":"html"}
Filter contact information
To proceed with the task, you need to filter and extract only the relevant information, specifically the contact information: the user’s email and message (body).
app/views/pages/index.html.liquid
<h2>Contact Us</h2>
<form action="/contacts/create" method="post">
<input type="hidden" name="authenticity_token" value="{{ context.authenticity_token }}">
    <div>
        <label for="email">Email</label>
        <input type="text" name="contact[email]" id="email">
    </div>
    <div>
      <textarea name="contact[body]"></textarea>
    </div>
    <input type="submit" value="Send">
  </form>
In our form, the name attributes are defined as contact[email] and contact[body]. To access the submitted email and body within your Liquid template, use {{ context.params }}. This will output the entire contact object, including both the email and body.
app/views/pages/contacts/create.liquid
---
method: post
---

Hello {{ context.params.contact }}
These nested names create a structured JSON object within context.params under the contact key.
Test the form
Now that we've added {{ context.params.contact }} to our template, let's test the form by submitting it with test data.
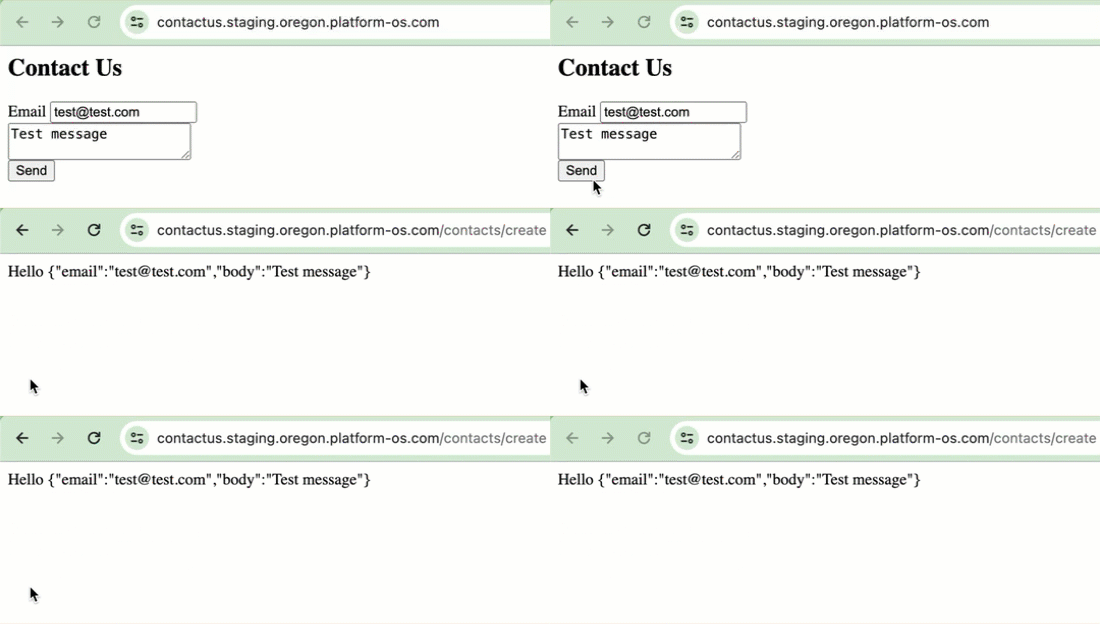
If the user enters [email protected] for the email and Test message for the body, the output will be:
Hello {"email":"[email protected]","body":"Test message"}
Tip
Using context.params.contact allows you to group related parameters under a single namespace, improving readability and maintainability. It enables cleaner access like context.params.contact.email instead of context.params.contact_email, and makes it easier to process user contact information for validation and further business logic.