Setting Up a Schema
To manage form submissions, we first need to set up a schema that defines how our data will be structured when saved to the database. In this part of the tutorial, we’ll walk you through creating a schema for the Contact Us form, which will allow us to collect user inputs such as email addresses and messages.
To save the data that the user provides in the application, you need three things: a form with an input, a GraphQL query that will save the data, and a page that will serve as a bridge between the user input and the query:
For a deeper dive into how data is saved and manipulated, we recommend reading our guide on Saving Data to the Database. This resource provides detailed explanations and examples that will enhance your understanding of the schema and database interactions.
Access the Database
To start, let's access our local database. Open your web browser and navigate to http://localhost:3333/database.
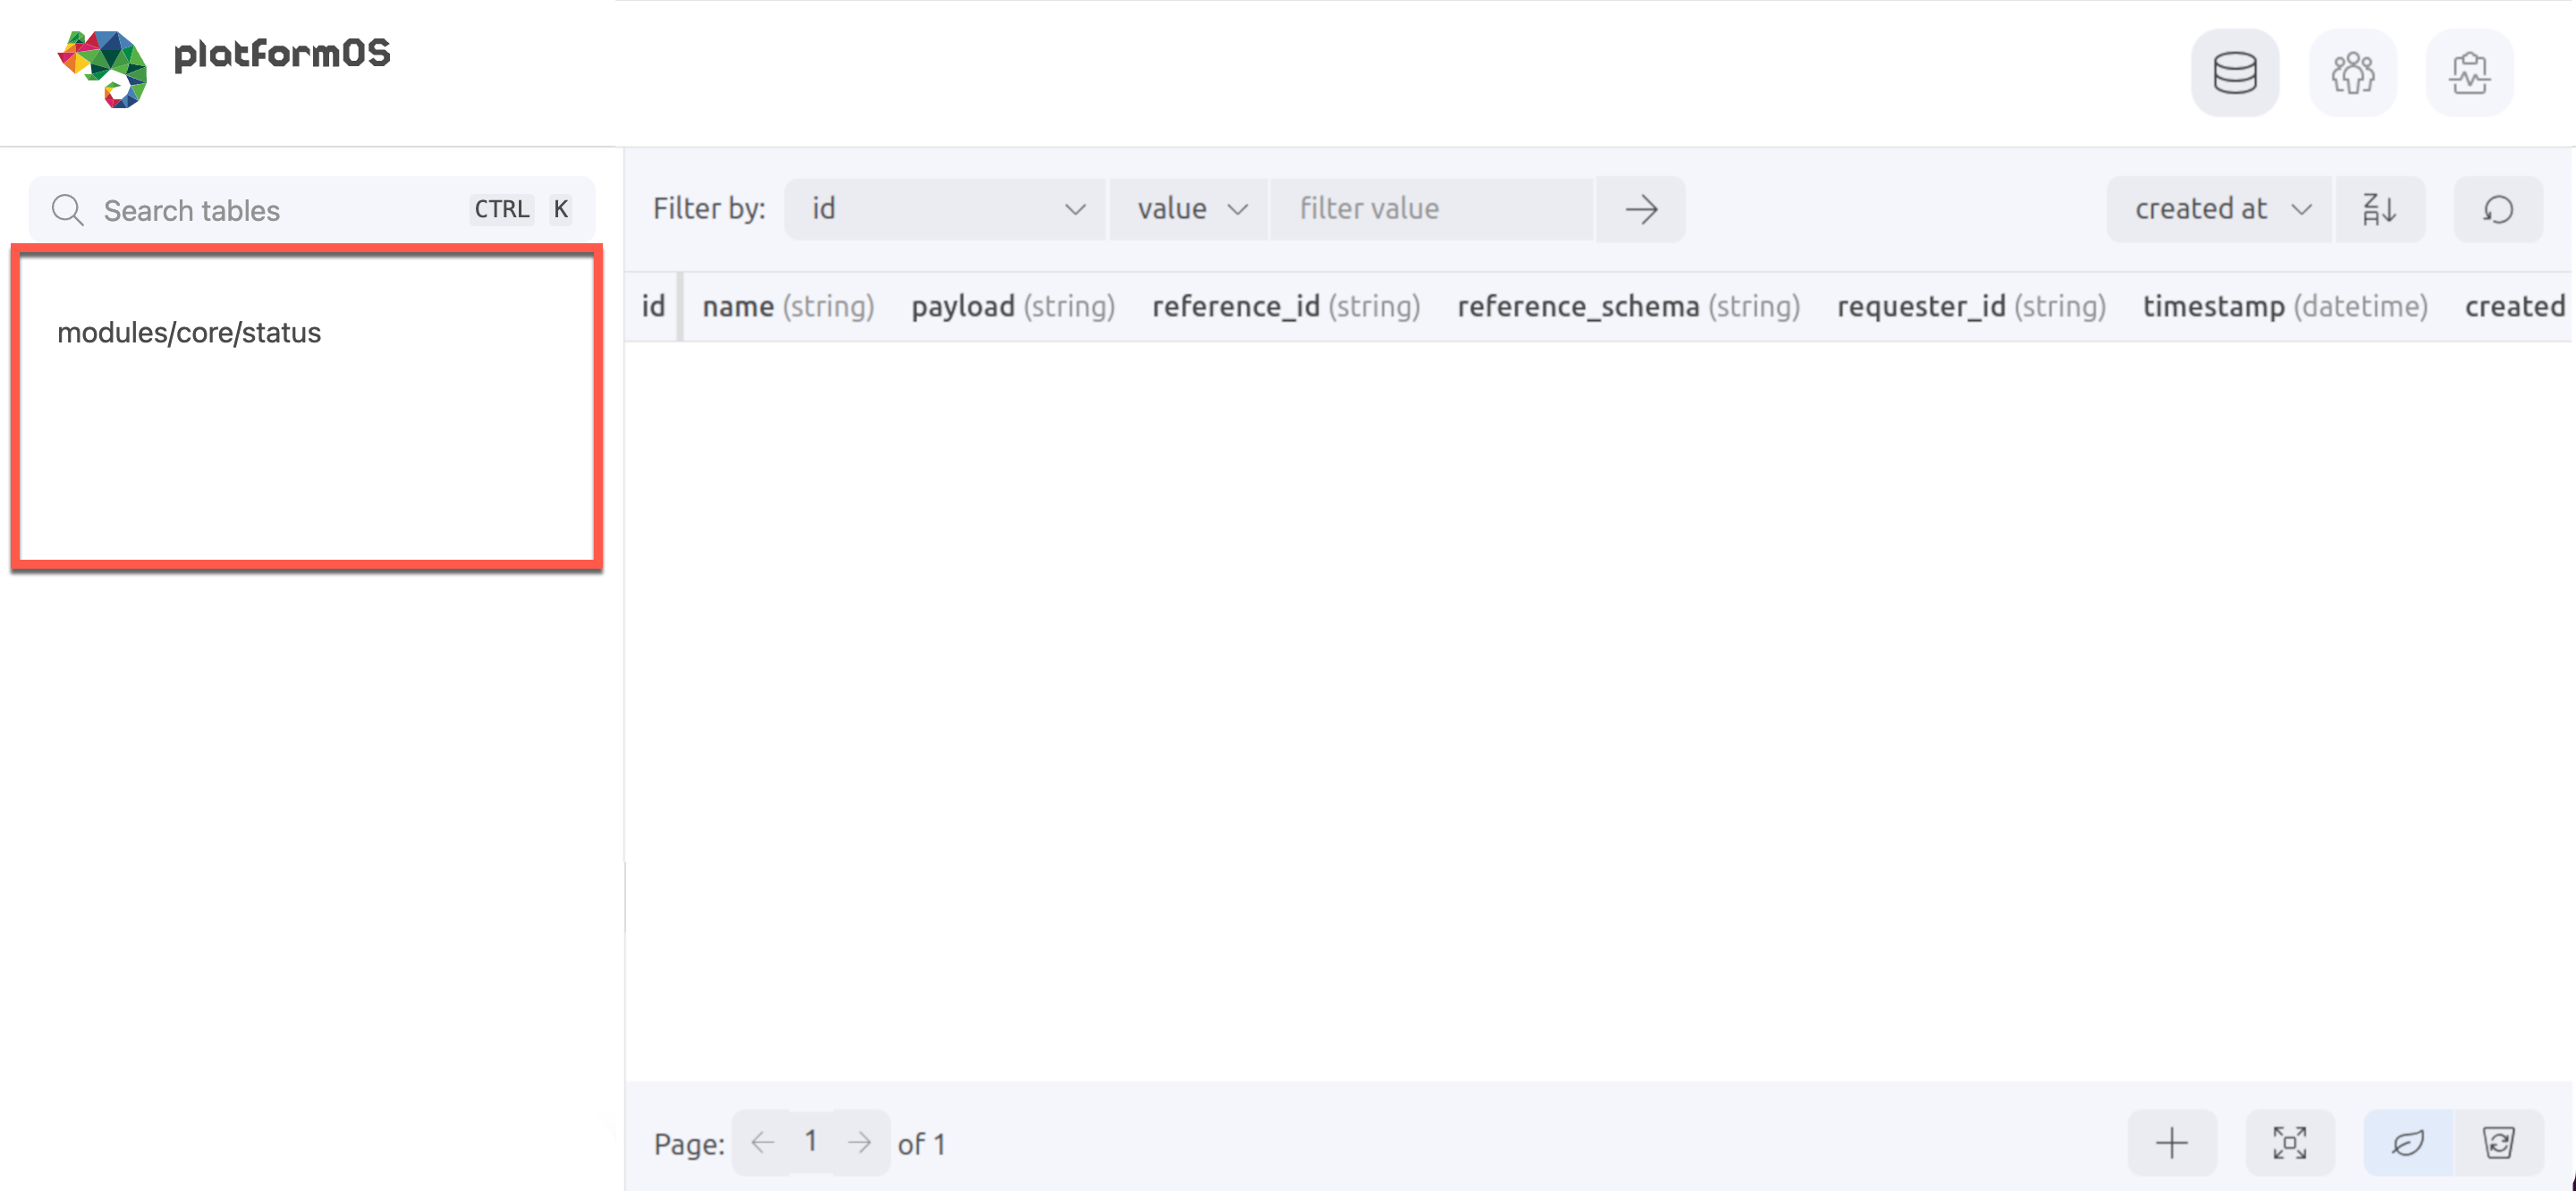
Once there, you should observe that the database contains a table for status handling (modules/core/status). This table is part of the core module functionality and is designed to manage the status of records more effectively. For this task, we will not be interacting with this table. Instead, we need to create a table that will hold the data entered by users in our Contact Us form.
Create the Database Structure Using YAML
As a first step, figure out the structure of the database you need for your Contact Us form. In this example, you will only need a single database table in which you will save the email address and message body submitted by users.
You will also need a unique ID for every record you store, but platformOS creates it automatically, so you don’t really have to think about it.
| ID | Body | |
|---|---|---|
| 1 | [email protected] | This is my first message! |
| 2 | [email protected] | Looking for more information. |
| 3 | [email protected] | I love your platform! |
To build a database table on platformOS, you will have to create a file that tells the platform what properties (or columns, if you are used to thinking about the database as a table) you need and what type of data you would like to store in them. These files need to be placed in a dedicated directory: app/schema/.
To describe the table structure, use the data-serialization language called YAML.
Navigate to your project root and create a new directory named schema.
mkdir app/schema
Inside the app/schema directory, create a contact.yml file with the following content:
app/schema/contact.yaml
properties:
  - name: email
  - name: body
This configuration defines a table named contact with two properties: email and body, both of which will store string values submitted by users through the Contact Us form UI you created earlier. By default, properties in this YAML file are treated as strings, so you don't need to specify the data types explicitly. This schema definition is enough to create the table.
Save the file, ensuring it's correctly synced with your platformOS application.
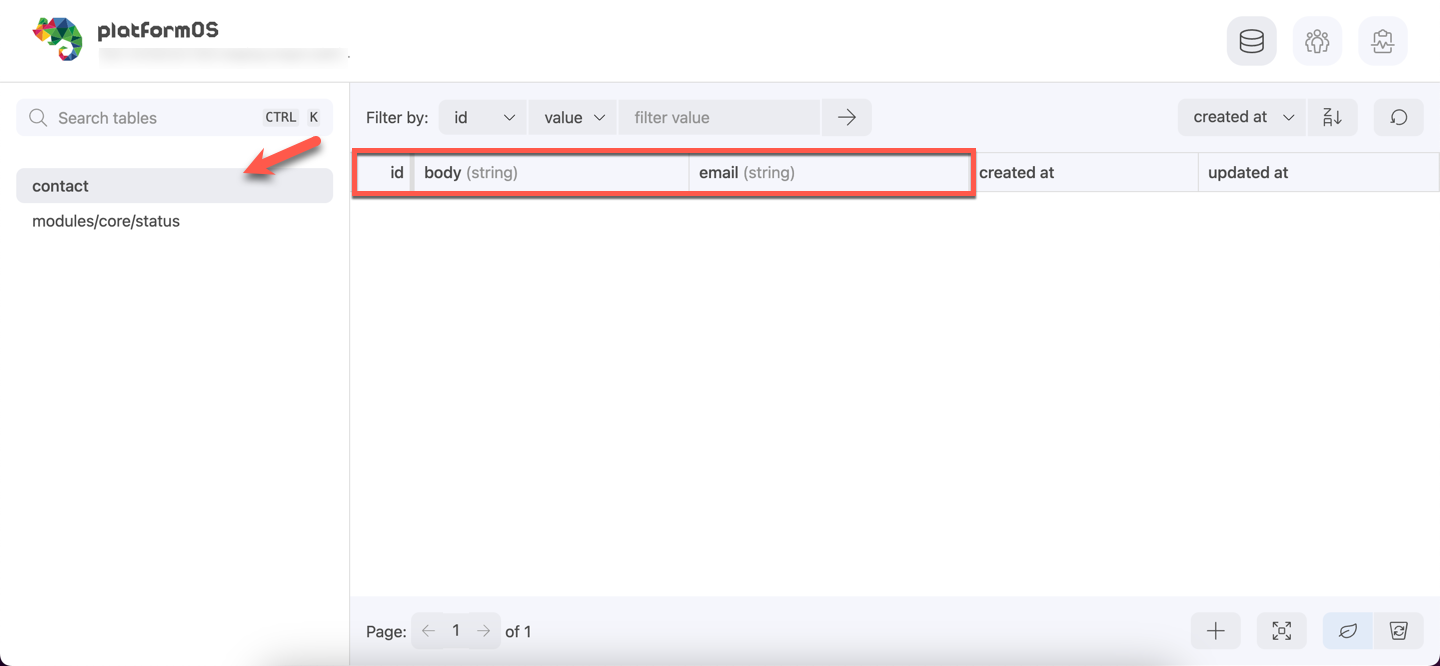
Verify the Database Schema
Now that you’ve created the database schema for your Contact Us form, let’s check that it has been correctly integrated into the database.
Return to the Database (http://localhost:3333/database) in your browser.
Click on the contact table to confirm that the email and body fields have been added. You should see both properties listed there, confirming that our schema setup was successful!
In the next step, we'll add records to this contact table.