Manage the database using the pos-cli GUI
This guide introduces our database management tool, which is part of pos-cli.
The pos-cli gui serve command is an efficient way to preview your current database state. It also allows you to modify data easily via the UI. However, it is not recommended for use in a production environment. For modifying production data, consider writing a migration for a small amount of data or a one-time script that you can invoke in a staging environment first.
Requirements
Before you begin, make sure you have the pos-cli installed and your environment is properly configured.
- Get Started Guide: Helps you gain access to our platform, set up a site, and install pos-cli.
- Technologies: See an overview of the technologies used in platformOS.
Starting the GUI
To start the Database UI locally, run the pos-cli gui serve [environment] command.
For example:
$ pos-cli gui serve staging
[18:05:01] Connected to https://documentation.platformos.com/
[18:05:01] Admin: http://localhost:3333
[18:05:01] ---
[18:05:01] GraphiQL IDE: http://localhost:3333/gui/graphql
[18:05:01] Liquid evaluator: http://localhost:3333/gui/liquid
Note
Replace staging with the environment you're working on. To view all available environments, use pos-cli env list.
Do not close your terminal or end the command — pos-cli gui serve must be running in the background for the GUI to work correctly.
To start using the Database UI, open the URL with "database" in it: http://localhost:3333/database.
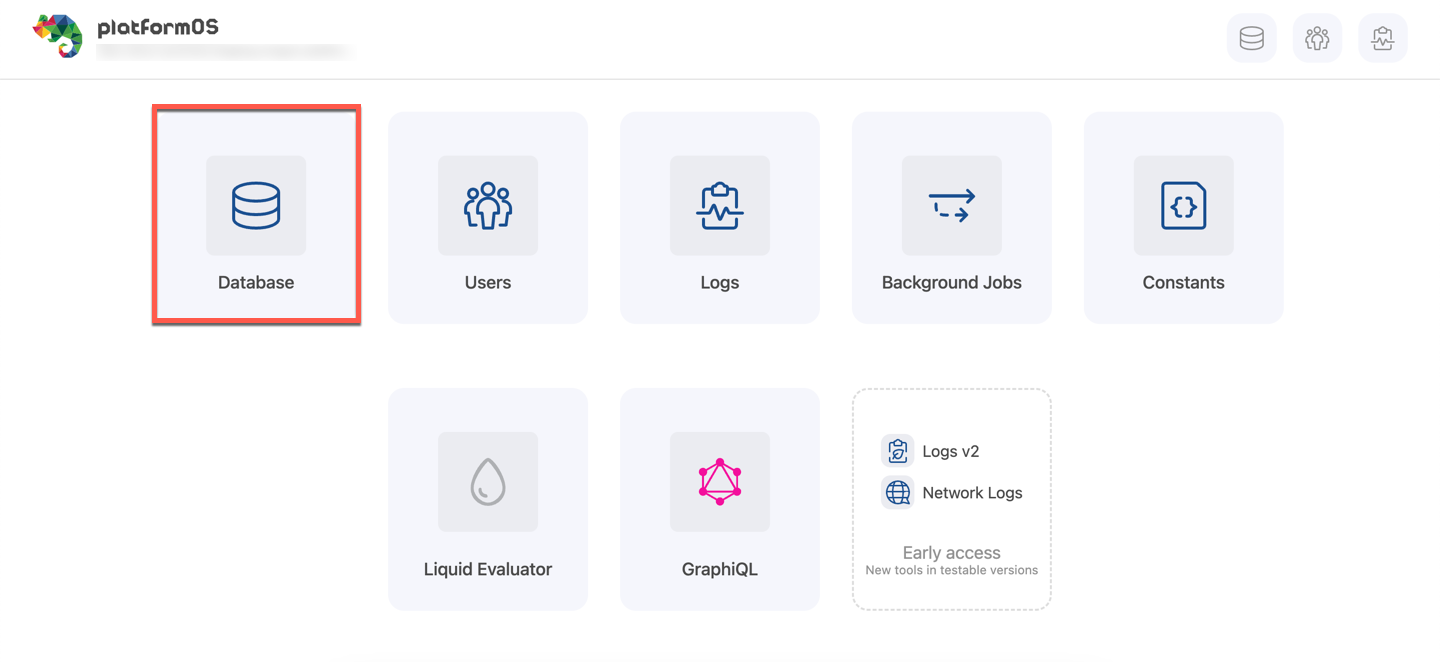
UI and Features Overview
Here is an example of how the UI looks for our e-Commerce Marketplace Solution:
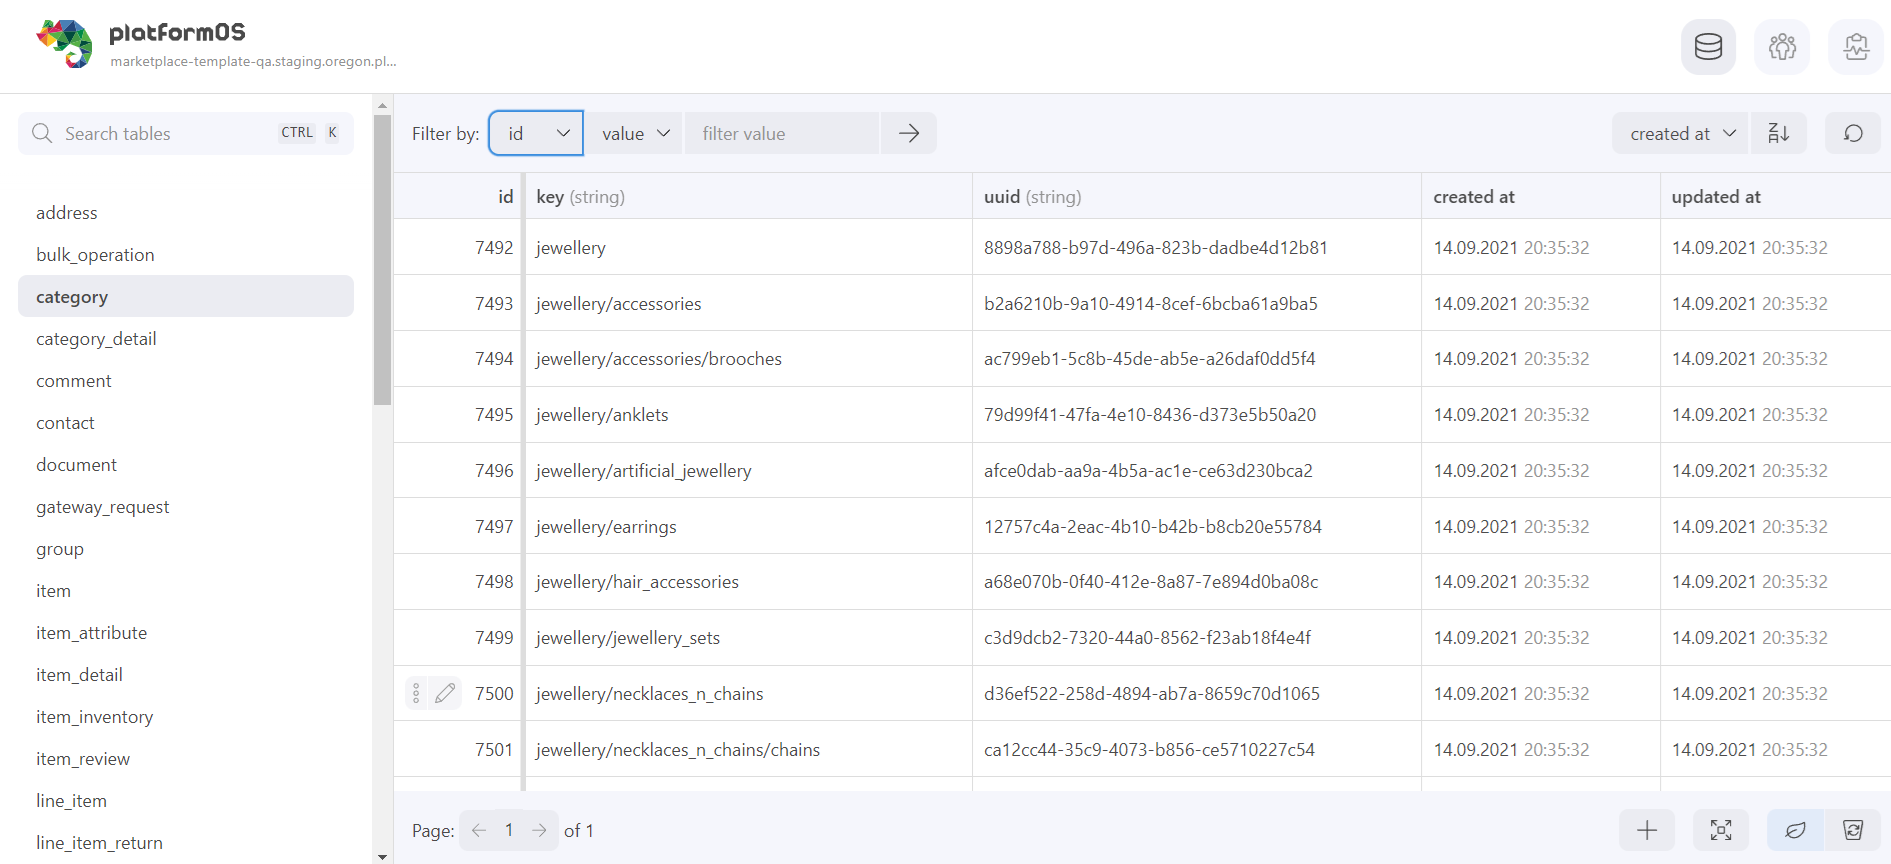
The UI allows you to:
- List all existing tables
- Browse data in each table with filtering and sorting support (the UI builds records GraphQL queries with the proper arguments behind the scenes)
- Edit existing record
- Delete existing record
- Create a new record
- Browse soft-deleted records and restore them
Restoring Deleted Records using the Database UI
In the Database UI, you can switch between the current database view and deleted records using the icons provided:
- Current Records: Represented by the leaf icon.
- Deleted Records: Represented by the recycle bin icon.
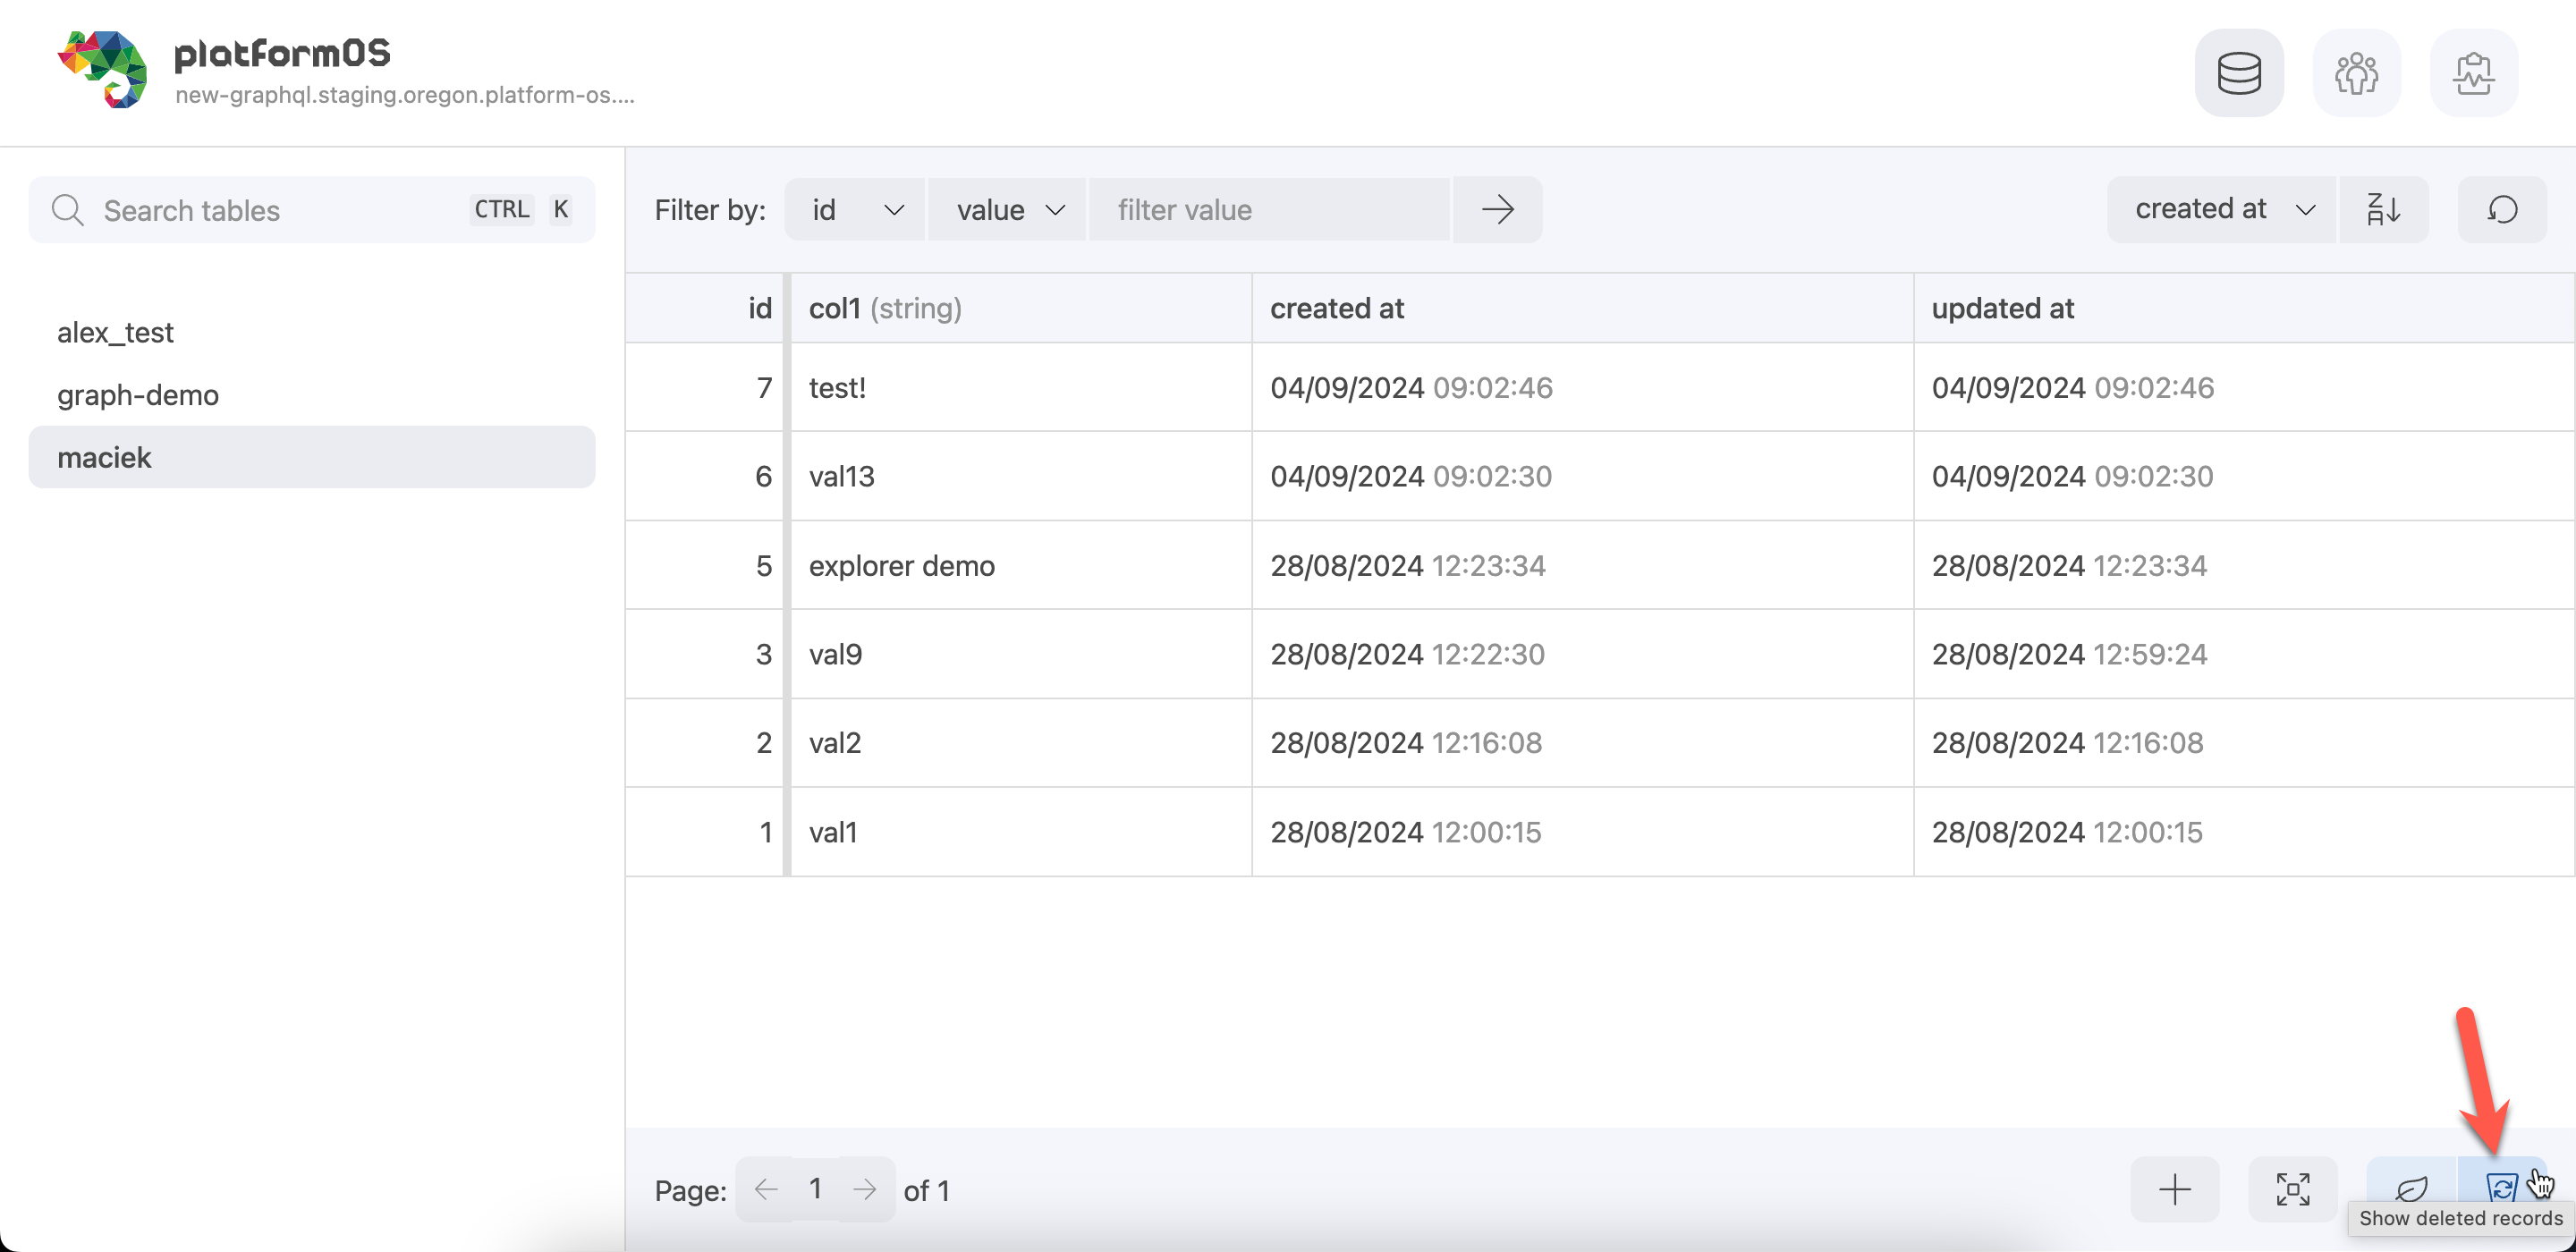
To restore a deleted record:
- Click the recycle bin icon to show soft-deleted records.
- Locate the record you wish to restore.
- From the dropdown next to the record, select "Restore record".
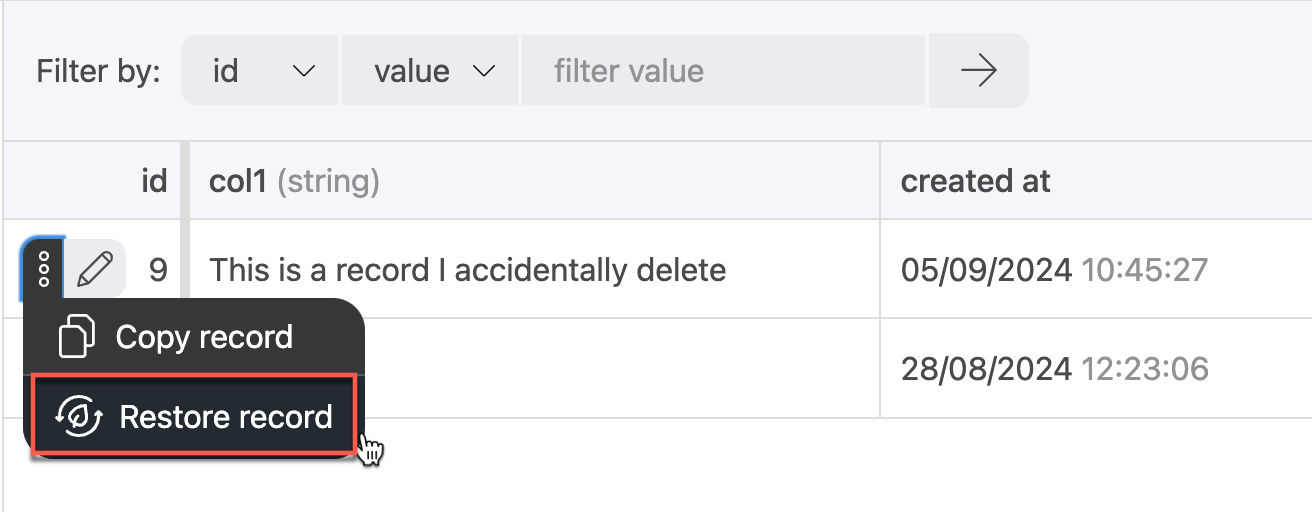
After restoring, the record will be available again in the current database view.