Get Started with the pOS Marketplace Template
The pOS Marketplace Template is a fully functional marketplace built on platformOS with features like user onboarding, ad listings and ads, purchase and checkout process, and online payment. Following the tutorial, you can deploy this code within minutes to have a list of working features and start customizing the back- and front-end code.
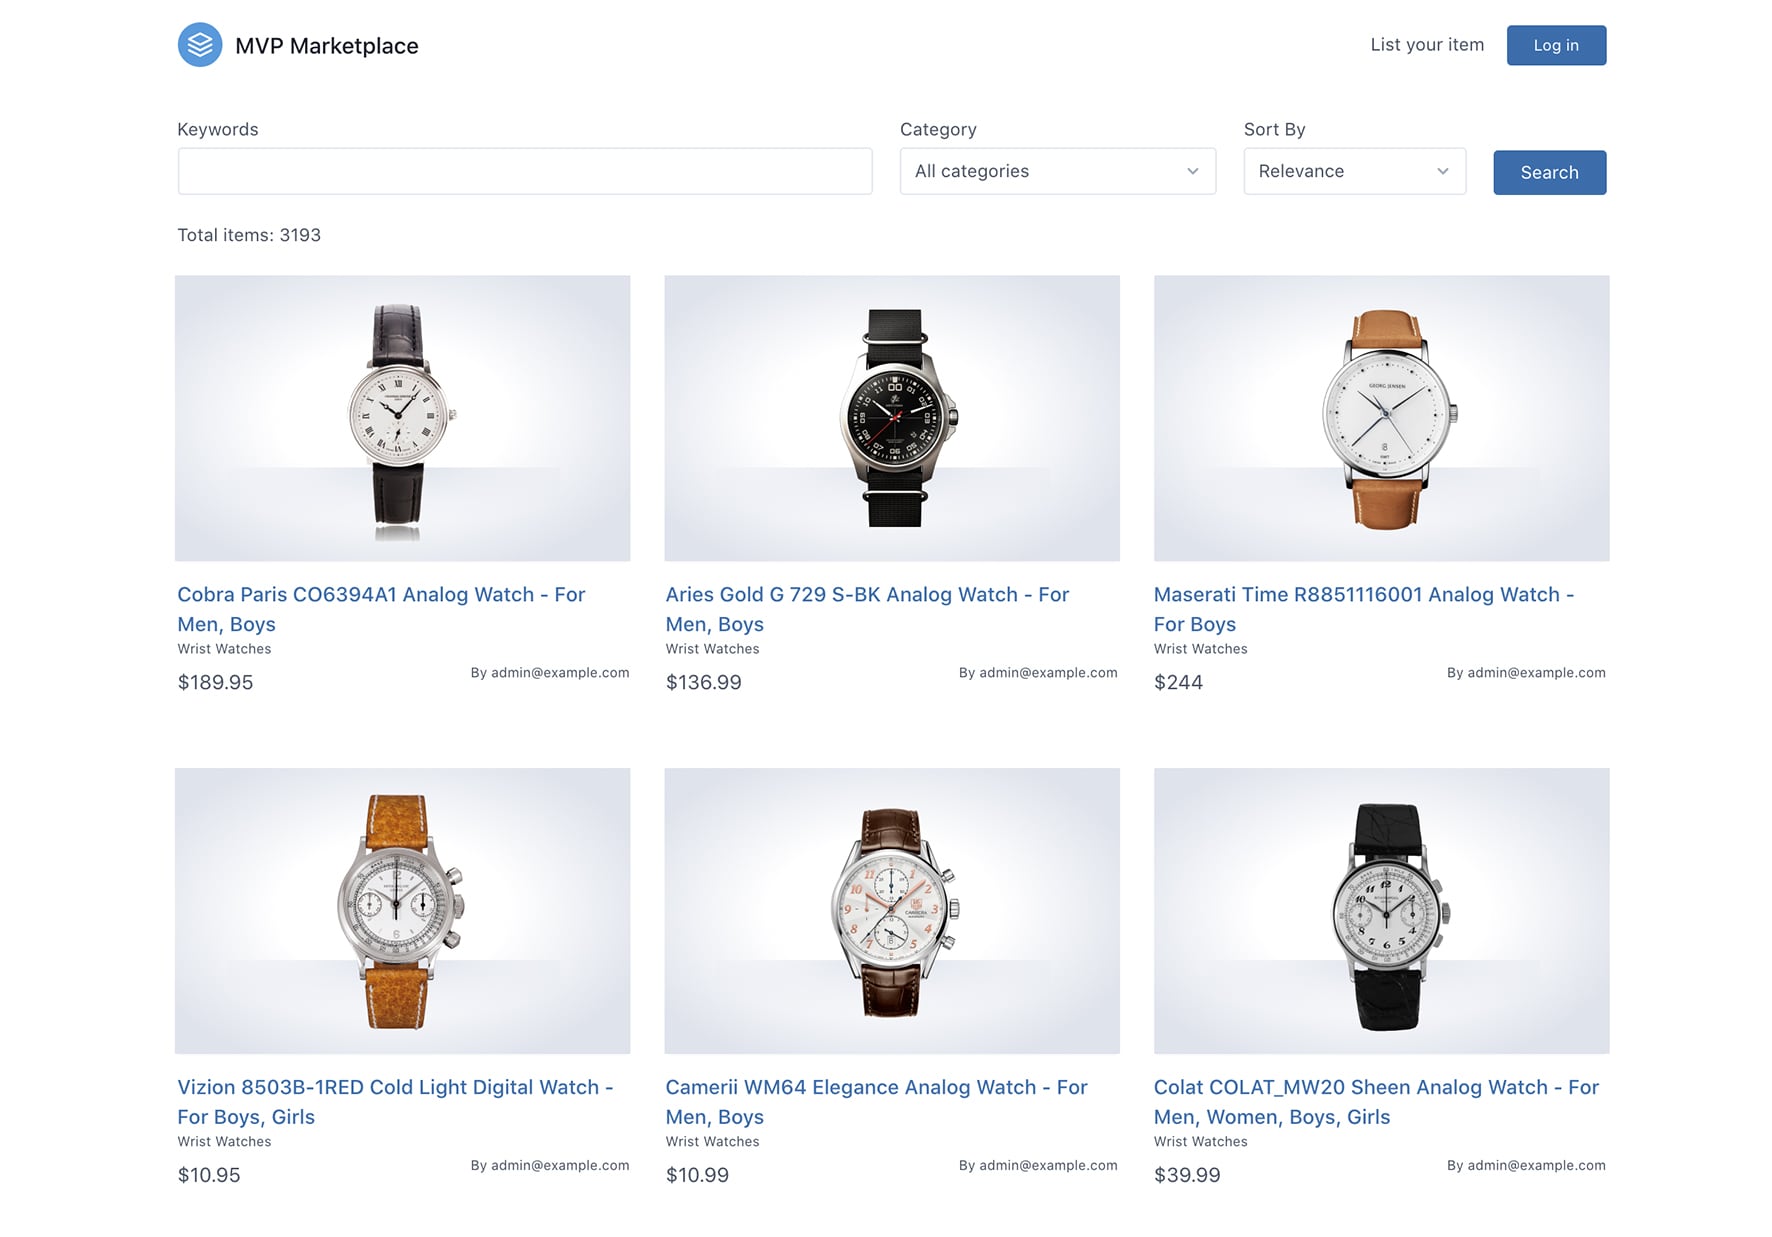
Preview
You can preview the marketplace template at our demo site here: getmarketplace.platformos.dev
Note
If you are going through the process of installing your marketplace on the platformOS Partner Portal, you will notice that some steps are slightly different than the ones described in this Get Started guide. This is because on the Partner Portal we automatically deploy your site to a new instance, while when you follow this guide, you do all steps manually.
Prerequisite: Register on the Partner Portal
Important
You might already have access to the Partner Portal if a registered Partner created an account for you. If you already have a Partner Portal account, please skip this step.
The Partner Portal is an online interface, where you can create, manage and configure your sites (called Instances), and create and manage the permissions of other users (called Partners).
To register on the Partner Portal, go to https://partners.platformos.com/accounts/sign_up, use your GitHub or Google account, or fill in the form:
| Field | Description | Example |
|---|---|---|
| First Name | Your first name | John |
| Last Name | Your last name | Smith |
| Your email address | [email protected] | |
| Password | Your password should consist of at least six characters that are a combination of uppercase and lowercase letters, numbers and symbols. | Uk9bpBMJ6s |
Once registered, you will get an email verification. Click on the Accept verification link to activate your account.
Step 1: Install the pos-cli
The pos-cli is a command line interface that helps you deploy configuration files and assets to your platformOS site.
Important
You will need a recent version of NPM (Node Package Manager) installed on your computer to install the pos-cli. NPM is distributed with Node.js, which means that by installing Node.js, you automatically get NPM installed on your computer. If you haven't installed Node.js yet, follow this tutorial to install it.
Once you have Node.js installed, start your command-line tool (for example, Terminal on a Mac, or Git Bash on Windows), and enter:
npm install -g @platformos/pos-cli
If your Node.js is installed for all users you might need to use sudo to install npm packages globally:
sudo npm install -g @platformos/pos-cli
Use the following command to test the pos-cli:
pos-cli -v
If the pos-cli has been installed correctly, running this command displays the version of your pos-cli. If the pos-cli hasn't been installed, running this command gives a command not found error.
Step 2: Create Instance
To be able to deploy your site, you have to create an Instance on the Partner Portal. Instances have a URL, and they represent different development environments, like staging or production. We recommend creating a staging environment for going through the steps in this tutorial.
On the Partner Portal, in the menu on the left under Create, select Instance, and fill in the form:
| Field | Description | Example |
|---|---|---|
| Name | The name of your Instance | mymarketplace |
| Tags | Enter up to 5 tags (optional). You can use tags to group your Instances, for example by project or client. | marketplace, test |
| Partner | Select the Partner the Instance will belong to. | MarketplacePartner |
| Data Center | Select an endpoint (staging or production). | STAGING |
Select the Staging/Unbilled Billing Plan that appears, and click on the Create button. We create the Instance, and once it's done (in a couple of minutes at most), send you an email with a link to your Instance and other useful information.
Step 3: Add Instance to pos-cli
Note
Make sure you remember your Partner Portal account email and password — you will need them to authenticate your environments. If you logged in using Google or Github, go to the Instance details view in Partner Portal where you will find the pos-cli command ready for copy and paste. It shows all the parameters you need, so in this case, you won't need to remember your password.
On your local environment create a new directory and change to it. This is where you will put the codebase for your marketplace.
mkdir marketplace
cd marketplace
Add your Instance to the pos-cli. This will ensure that you can use the pos-cli to download your codebase, and sync or deploy to the Instance.
Use the pos-cli env add command and authenticate with your Partner Portal credentials.
Tip
You can copy this command pre-filled with your Instance URL from your Instance page on the Partner Portal.
pos-cli env add [YOUR_ENV_NAME] --url [YOUR_INSTANCE_URL]
For example:
pos-cli env add staging --url https://mymarketplace.staging.oregon.platform-os.com
A message "Environment [your Instance URL] as staging has been added successfully." is displayed.
Step 4: Clone the repository
If you need to create a new project, you can initialize the directory structure using the pos-cli init command. You can either initialize platformOS core or download the directory structure from a given git repository and extract it in your current directory.
Create your codebase by cloning our marketplace GitHub repository.
pos-cli init --url https://github.com/mdyd-dev/product-marketplace-template.git
Step 5: Build assets
Install the marketplace package and any packages that it depends on then build it using npm commands.
npm install
npm run build
Step 6: Deploy
To be able to display your marketplace on your site, you have to deploy your codebase using the pos-cli deploy command.
pos-cli deploy [YOUR_ENV_NAME]
For example:
pos-cli deploy staging
A progress indicator shows that the deployment is in progress, and once it finishes, a "Deploy succeeded after [time]" is displayed.
Go to your Instance URL to explore the marketplace you just deployed. If you already had the Instance URL open in your browser, refresh to display the changes.
Step 7: Set up your marketplace
To access the admin panel of your marketplace:
- Click on
Log in, then on theRegisterlink in the text "Don't have an account? Register". - Register a user with this email address:
[email protected]. You can enter any password. - Enter the
Adminsection from the main menu. - Go to the
Marketplace Setupsection.
To set up Stripe integration:
- Go to https://stripe.com and register your Stripe Connect account.
- Copy and add the redirect URI in your Stripe Connect settings under Integration/Redirects:
[YOUR_INSTANCE_URL]/payments/account/success, for example:https://mymarketplace.staging.oregon.platform-os.com/payments/account/success. You can find this link on your Dashboard on theSetuppage. - Enter your Stripe public key, secret key, and Stripe Connect account client ID.
- Marketplace Owner Fee (percent): The fee that the seller pays for selling through the marketplace. For example, if the product costs 50$, the buyer pays 50$, then the seller gets 50$ minus the marketplace fee. In this example, if the marketplace fee is set to 10 (percent), then the seller will get 45$. The marketplace owner would get 5$ but as a default, the marketplace owner pays the fees for using Stripe Connect, so they will get 5$ minus Stripe's fee.
- Stripe Publishable Key: find under Developers/API keys
- Stripe Secret Key: find under Developers/API keys
- Stripe Owner Connect account client ID: find under Integration