Setting Up a Release Pool
Setting up a release pool is a prerequisite of setting up a CI pipeline used with platformOS.
A release pool is a set of ready-to-use instances in a continuous integration (CI) environment, managed dynamically to avoid conflicts and ensure efficient resource allocation.
The release pool consists of a predefined number of instances (e.g., ci-instance-01, ci-instance-02, ci-instance-0N). These instances are kept in a ready state, available for use as needed. When a developer initiates a test, usually through a pull request, an instance from the release pool is assigned to that test. This ensures a dedicated environment for end-to-end tests without interference from other ongoing tests. Once testing is complete, the instance is returned to the pool for future use.
The management of the pool is handled by a main or manager instance (e.g., main-instance-pooling). This instance monitors availability, allocates resources, and tracks which instances are in use.
Steps to set up a Release Pool
1. Clone the ci-instance-pooling repository
To start, clone the ci-instance-pooling repository to your local machine. This will provide you with the tools necessary to manage the CI instances.
git clone https://github.com/Platform-OS/ci-instance-pooling
2. Create the Main Instance
The main instance is the core of your release pool. It manages the availability and allocation of the other instances.
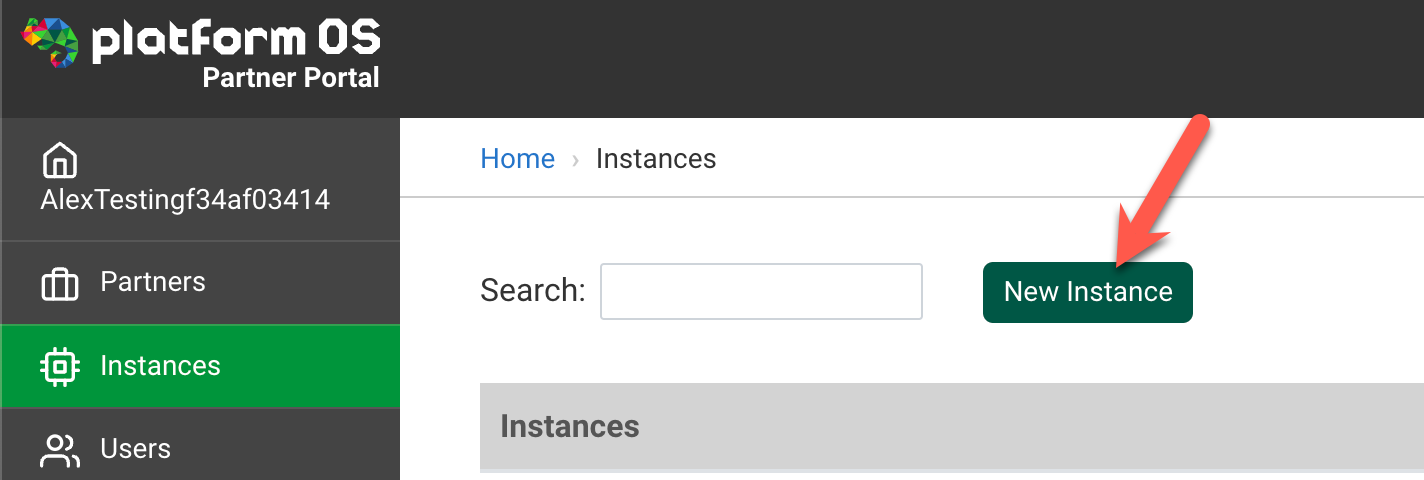
- Go to the Partner Portal, navigate to the Instances section, and click New Instance.
- Name the instance (e.g.,
ci-main-instance), set the environment to Staging, and mark it as Unbillable. - For better organization, you can add tags (for example: pool), and it's recommended to use the same tag for all instances in the pool.
3. Set up and connect the Main Instance
Once your main instance is created, it's time to connect it to the ci-pooling repository you cloned. In your terminal, navigate to the ci-instance-pooling directory and run the following command to link your environment:
cd ci-instance-pooling
pos-cli env add --url https://YOUR-INSTANCE.staging.oregon.platform-os.com <env-for-ci-pool>
4. Authorize the Main Instance
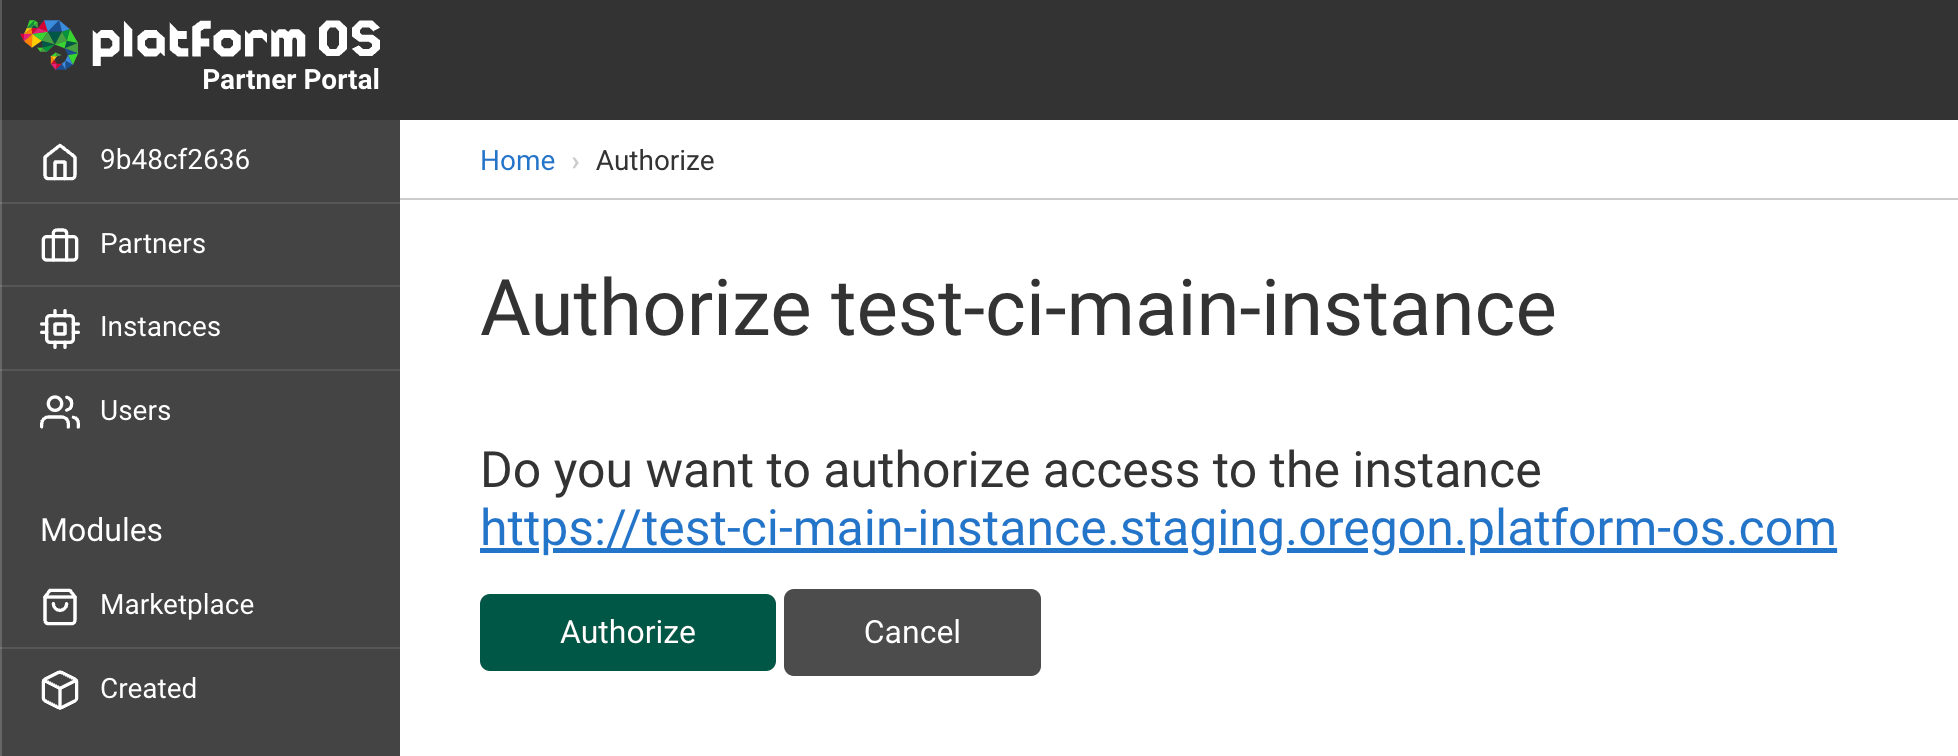
To authenticate the main instance, simply click Authorize in the browser when prompted in the Partner Portal.
5. Deploy the Main Instance
Now that your instance is set up, deploy it using this command:
pos-cli deploy <env-for-ci-pool>
6. Create additional Test Instances
With the main instance up and running, you can create additional test instances. The number of instances you create will define concurrency - for example, if you create 5 instances, you will be able to run a maximum of 5 test suits in parallel. Use a clear naming convention like test-ci-instance-01, test-ci-instance-02, etc. Set each instance to Staging and mark it as Unbillable.
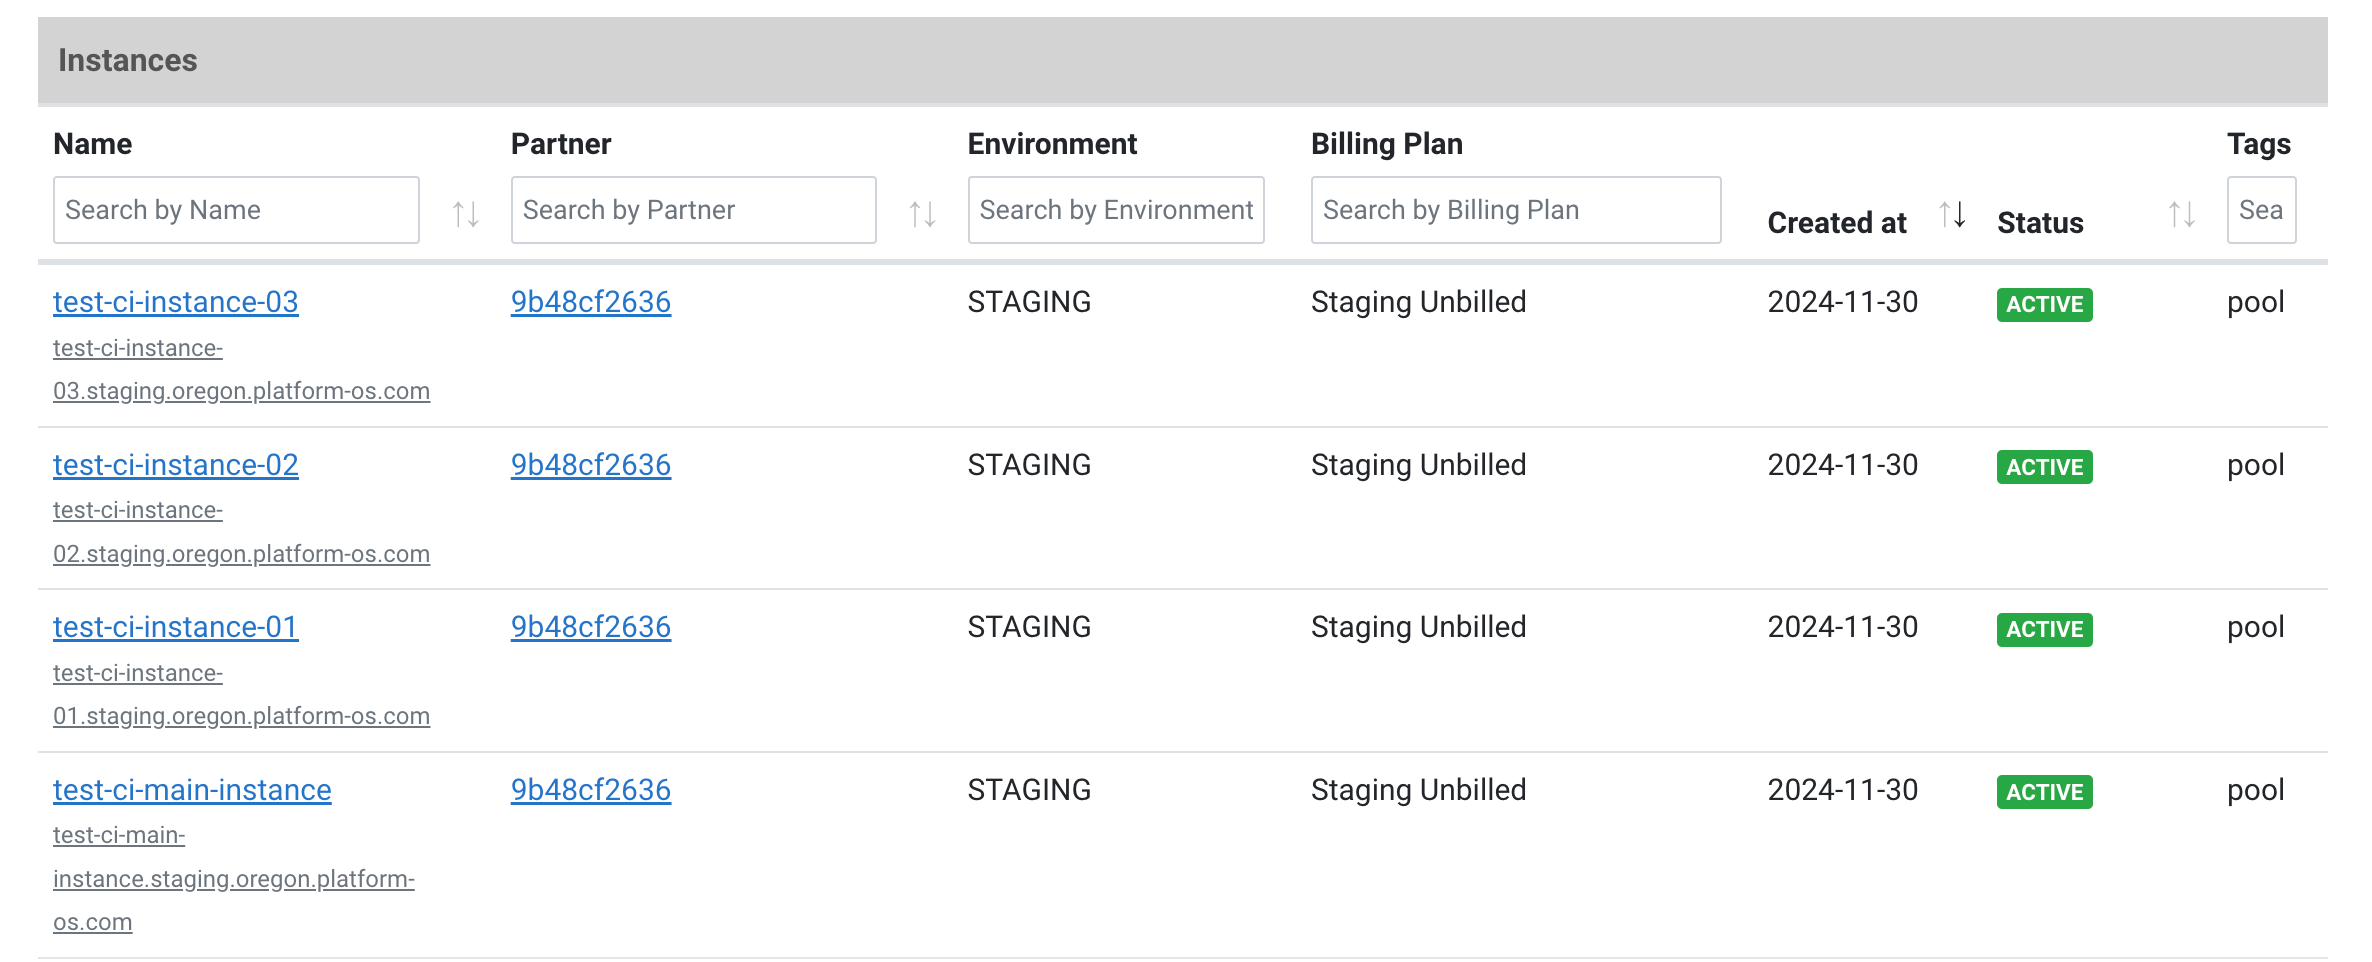
7. Set Up and Authorize Test Instances
Once the test instances are created, you'll need to set up their environments and authorize them (just as you did with the main instance).
Make sure not to overwrite the main instance using its name for the
Execute the following command:
pos-cli env add --url https://test-ci-instance-01.staging.oregon.platform-os.com test-ci-instance-01
Repeat this process for each test instance. These actions will generate pos-cli tokens for each instance, which will be stored in the .pos file in your project directory, which you will use in the next step when you add them to the database.
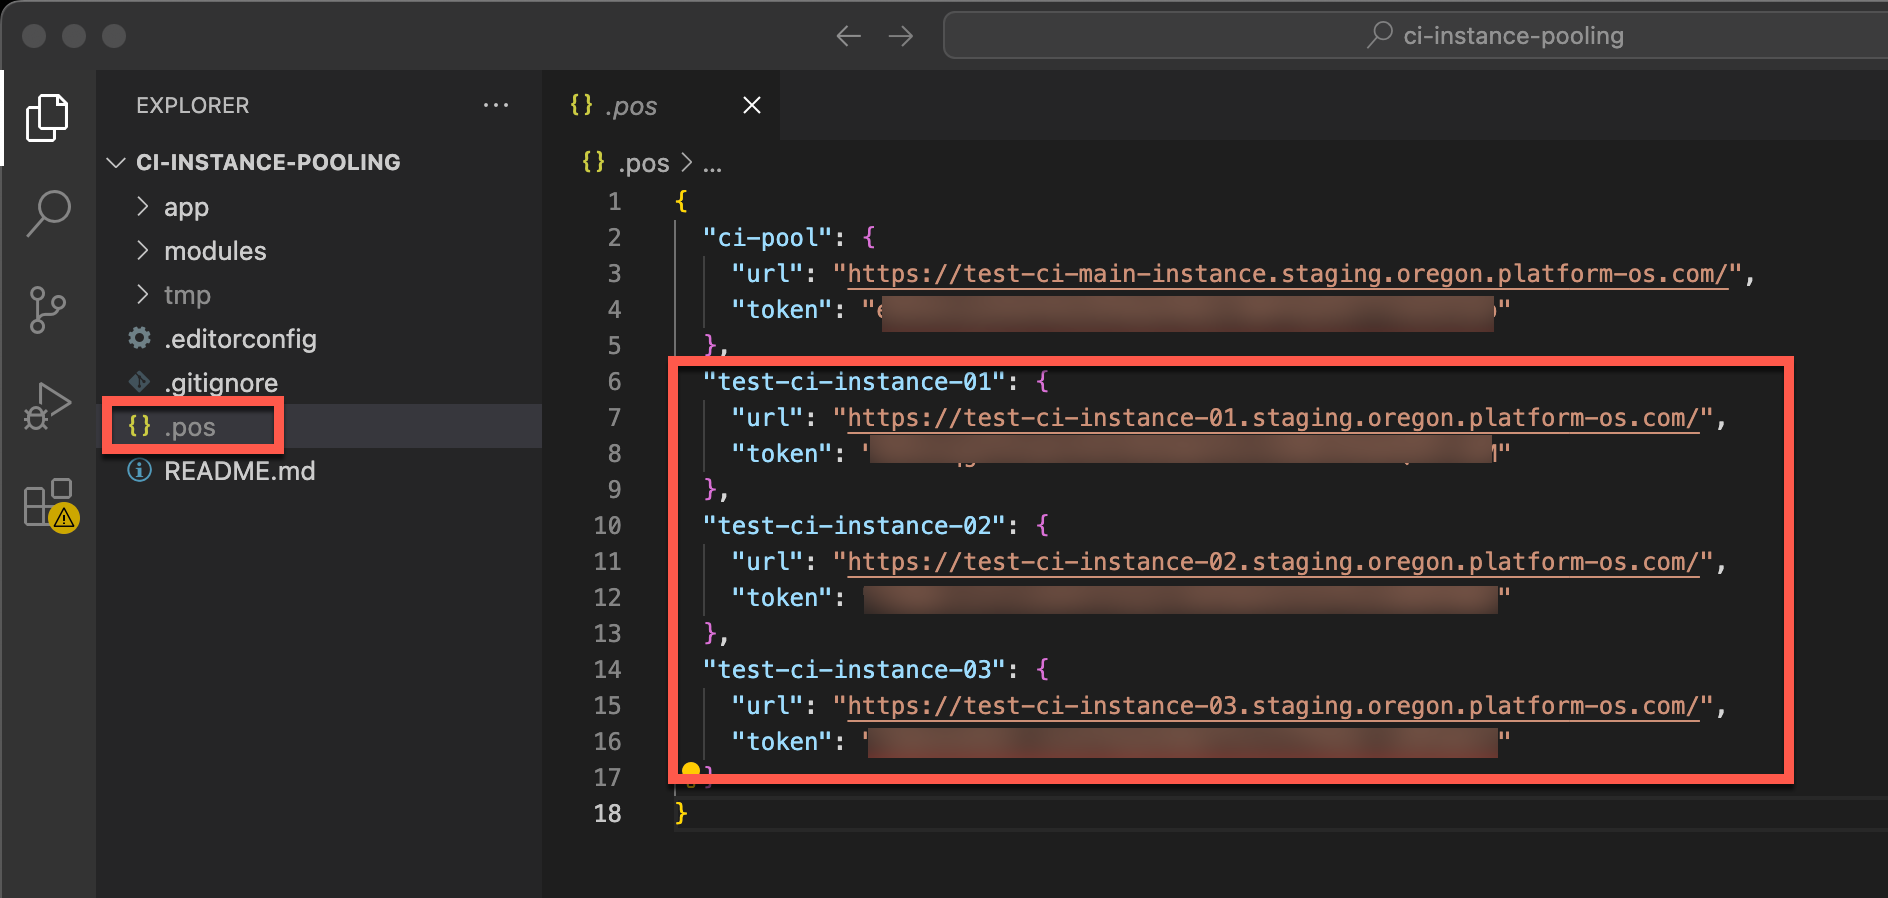
8. Add your Instances to the Database
To add your instances to your release pool, start the pos-cli GUI by executing the following command:
pos-cli gui serve <env-for-ci-pool>
Next, navigate to http://localhost:3333 in your browser.
To ensure your instances are recognized and tracked, you'll need to add them to the database:
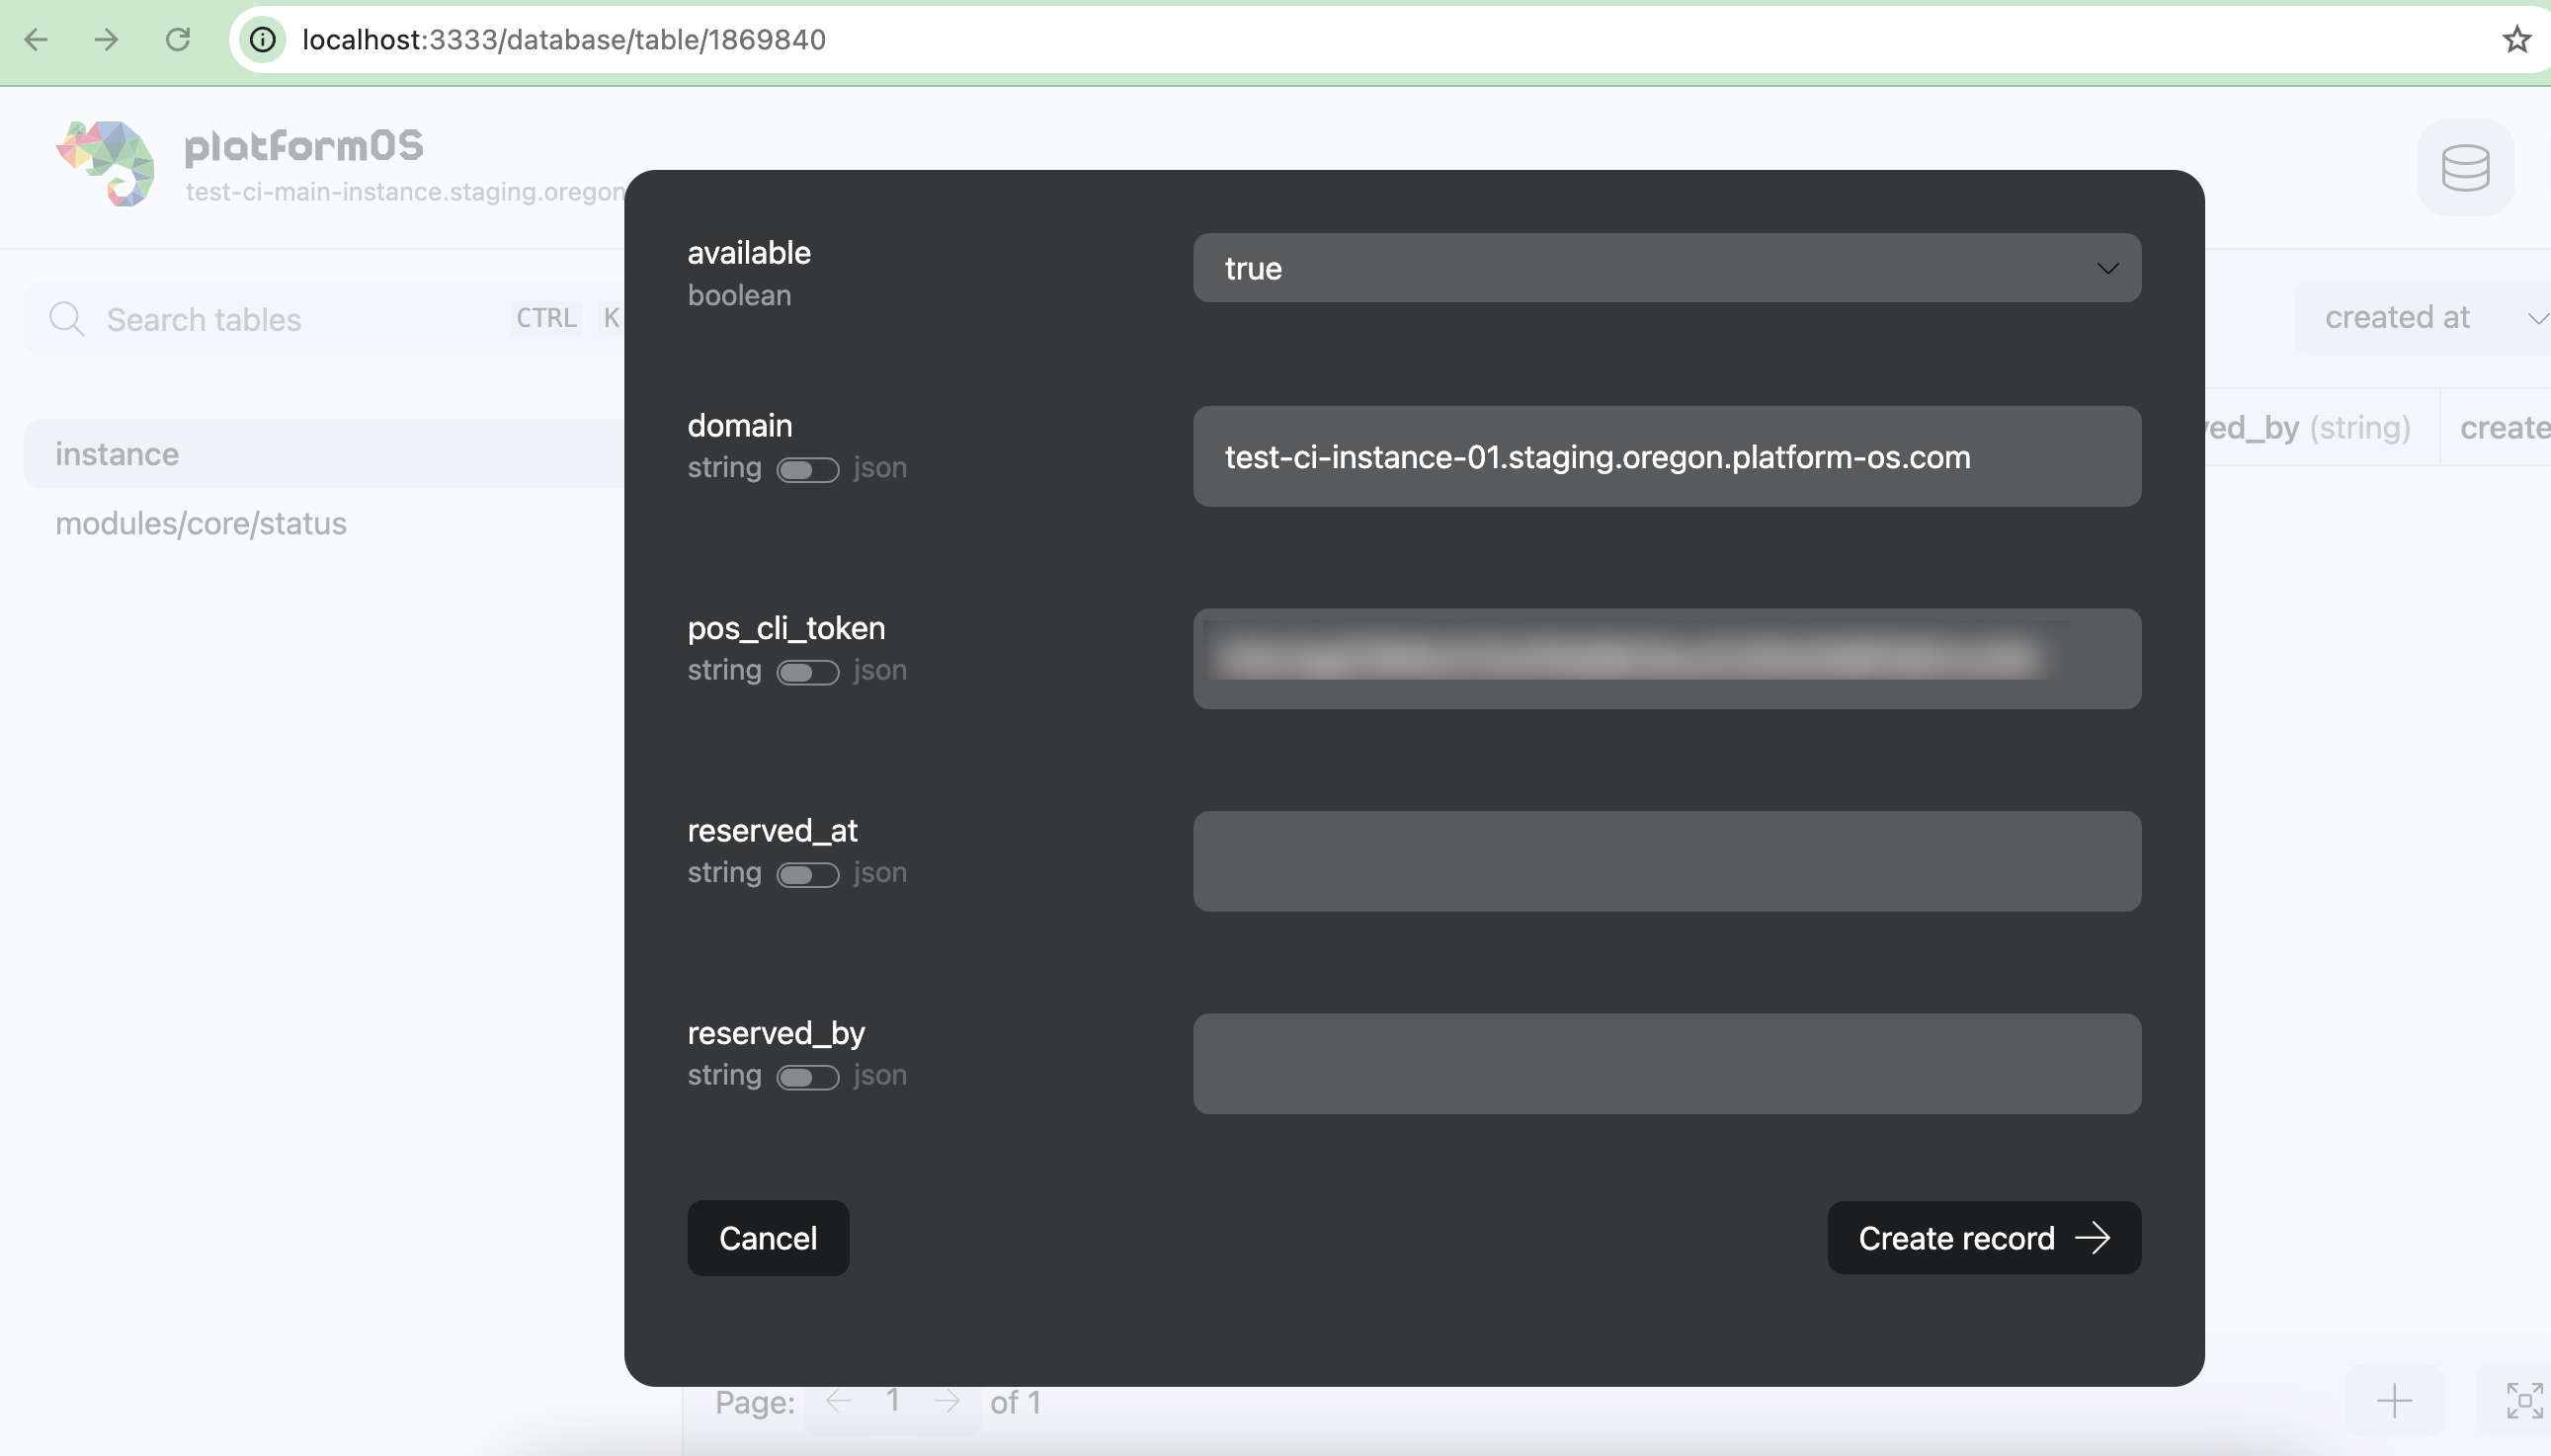
- Go to the Database section and select the 'instance' table from the left navigation menu.
- Click the
+button to add a new record for each instance.
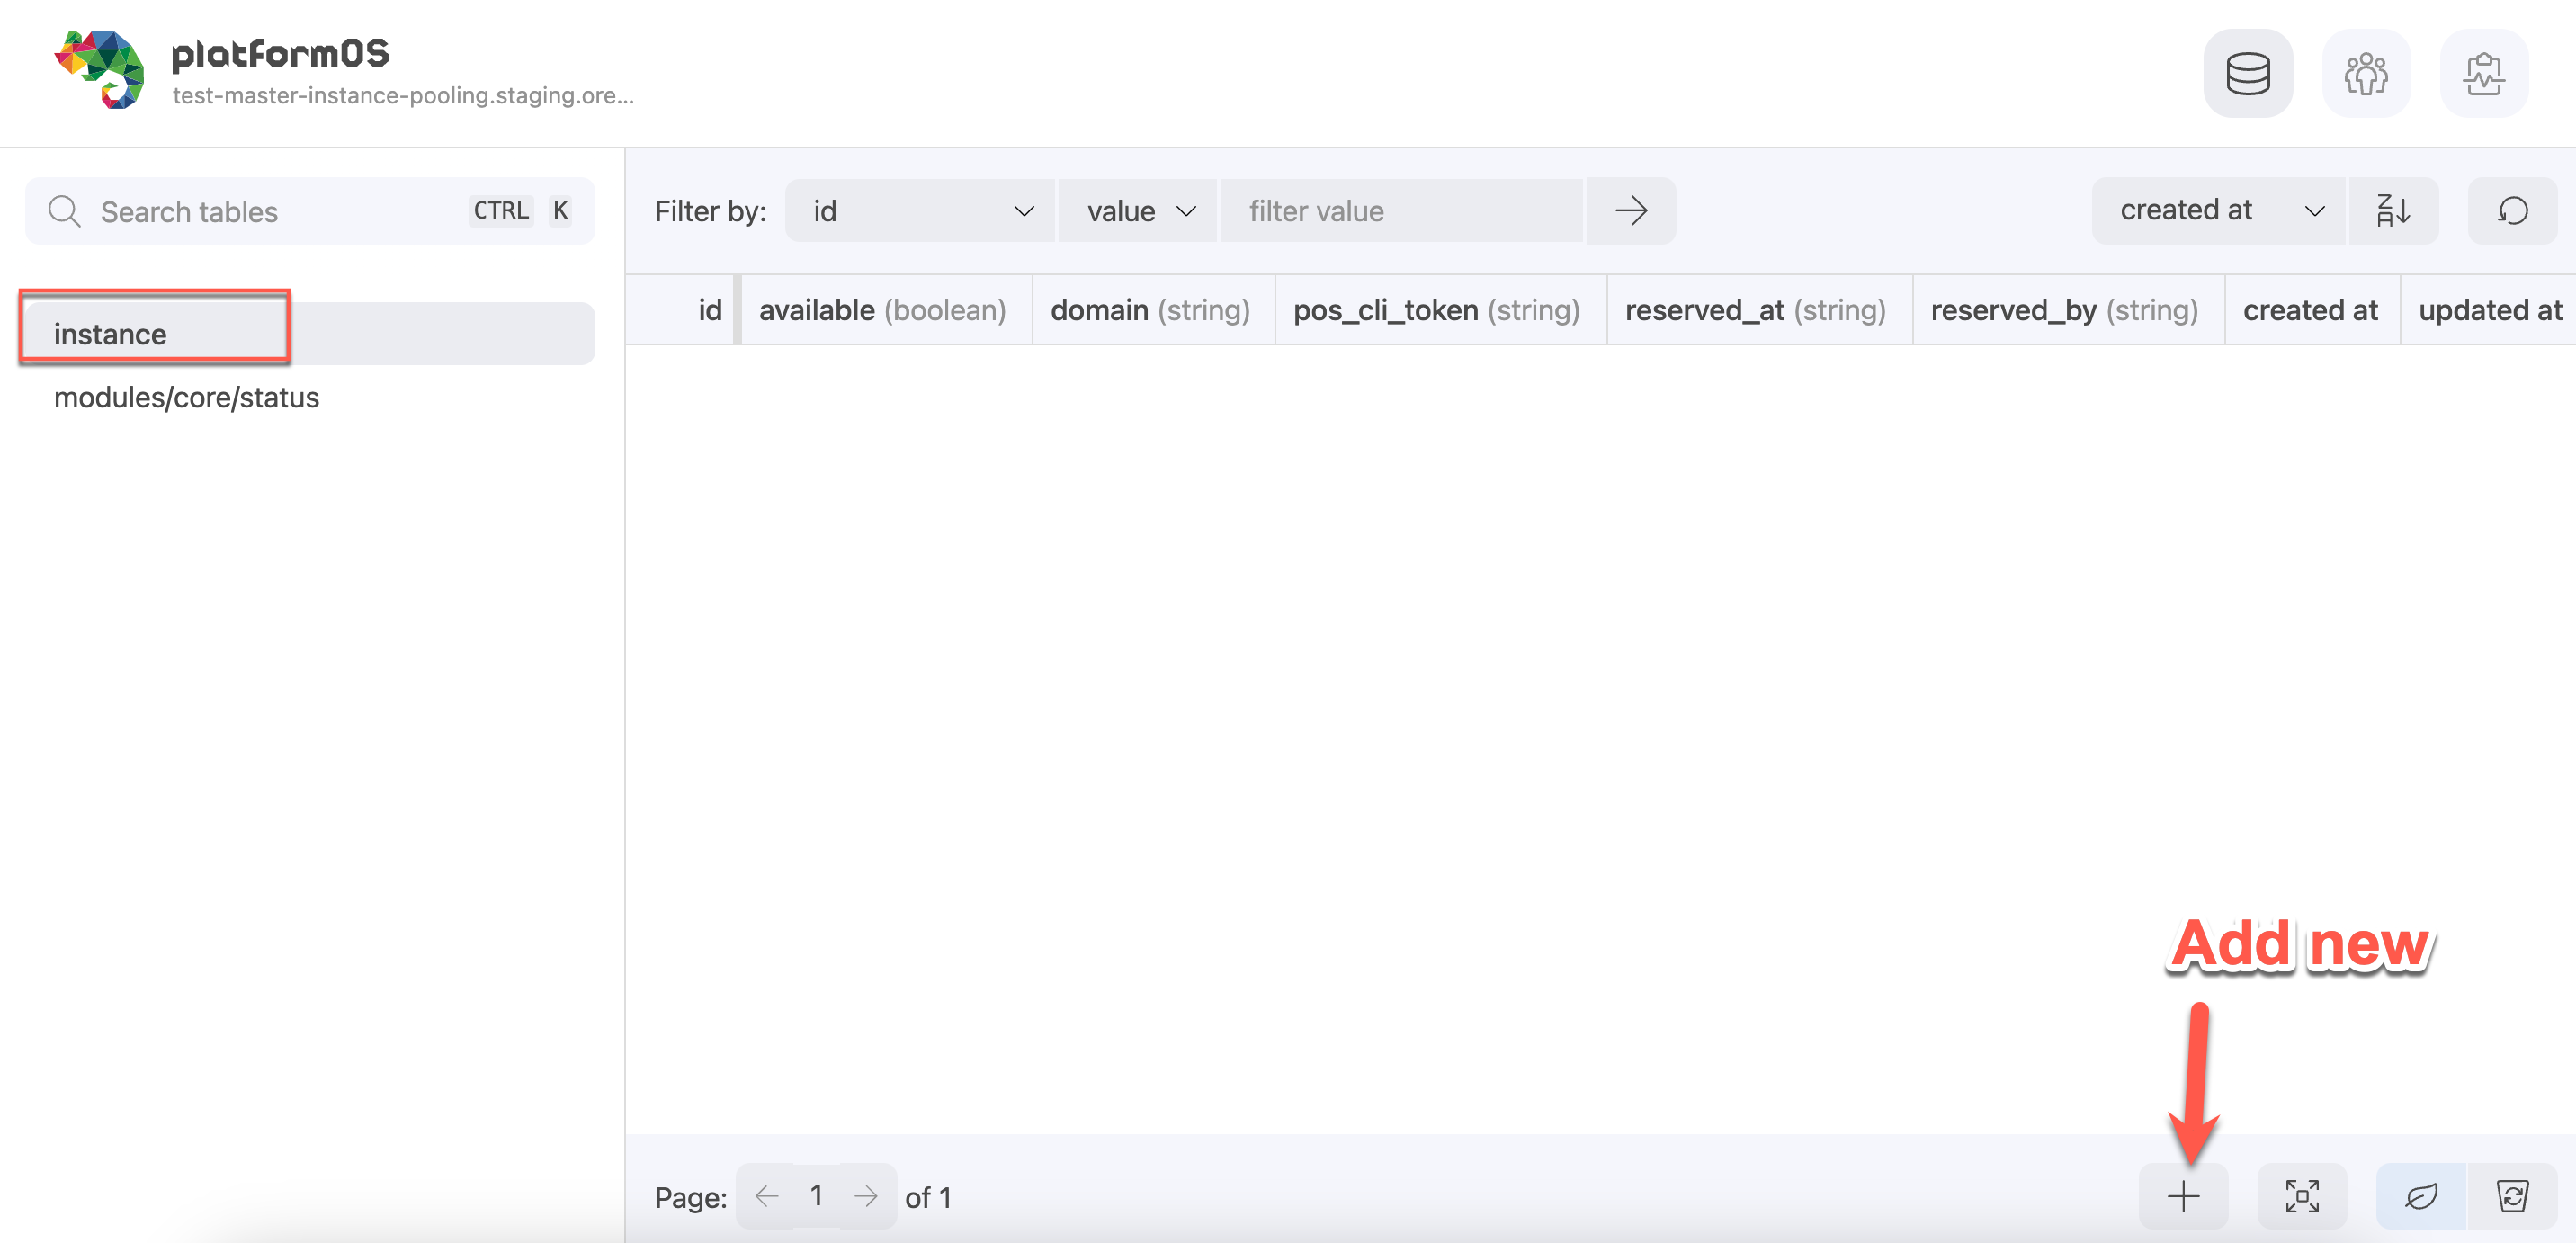
For each record, provide the following data:
- Available: Set to
true. - Domain: Use the domain URL of the instance from the Partner Portal (for example:
test-ci-instance-01.staging.oregon.platform-os.comwithouthttps://!) - pos_cli_token: Copy the token from the
.posfile in your project root and paste it here.
