Writing a TestCafe Test
This guide will help you write your first test using TestCafe. This tutorial uses an example from the platformOS documentation site.
Requirements
To follow the steps in this tutorial, you need TestCafe installed on your computer.
Steps
Writing a test using TestCafe is a two-step process:
Step 1: Determine fixture declaration
A fixture is a test category and each test file requires its determination. Create a file called test.js in your tests folder:
fixture `My First Fixture`
    .page `https://examples.platform-os.com/full-form-example`;
The whole test will look like this:
import { Selector } from 'testcafe';

fixture `My first fixture`
  .page `https://examples.platform-os.com/full-form-example`;

test('My first test', async t => {

  const successNotification = Selector('.alert.alert-success')

  await t
    .typeText('#form_email', '[email protected]')
    .click('button.btn.btn-primary')
    .expect(successNotification.innerText).eql('This is flash notice (success)');
});
The test will execute the following scenario:
- Go to the indicated URL.
- Enter an email address.
- Click the Save button.
- The expected result is a notification displayed with the text
This is flash notice (success).
Step 2: Launch the test
Run the following command in your command line:
testcafe chrome test.js
TestCafe will automatically find and start the test in the Chrome browser.
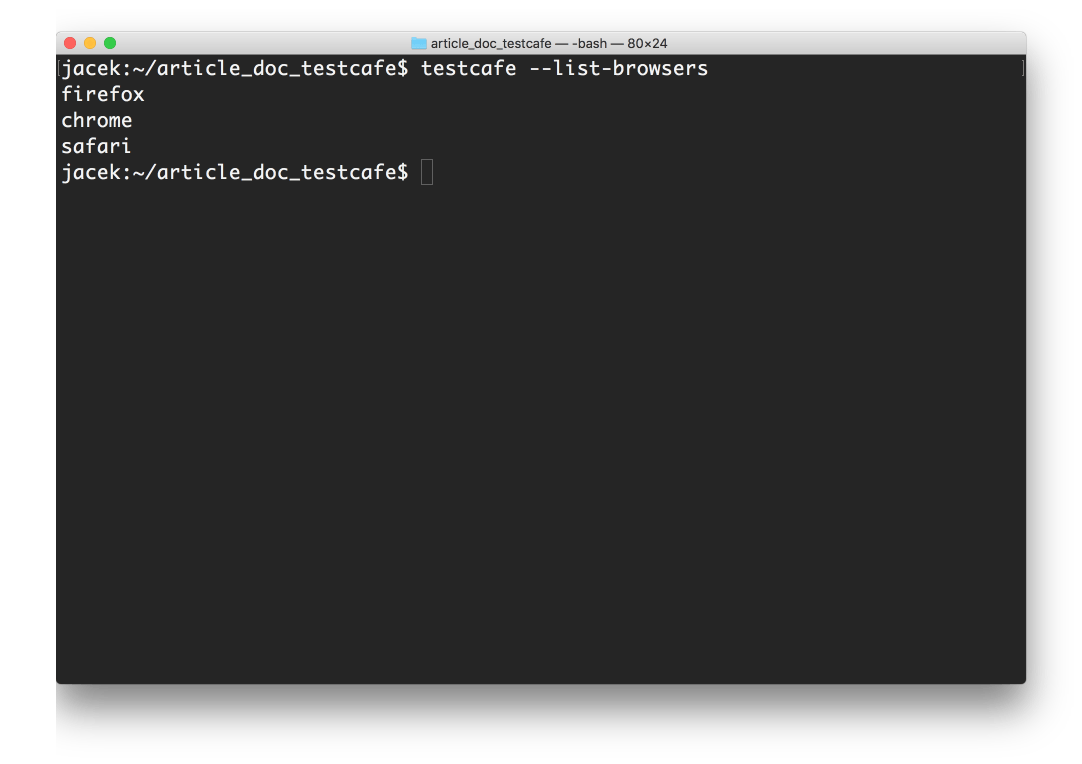
To list the browsers available in your system, use the following command:
testcafe --list-browsers
Next steps
Congratulations! You wrote your first test using TestCafe. Now you can learn about writing tests using the Page Object Model (POM) pattern: