Build an User Management Application
Introduction & Quick Start Guide
In this tutorial, you will learn how to build a simple user management application using the platformOS User Module. The goal is to understand how authentication works on platformOS, explore the built-in pages provided by the module, and prepare your project for future features such as roles, profile updates, and two-factor authentication.
We will begin with a clean instance, install the User Module, apply Common Styling, and create a minimal homepage.
In the next chapters, we will extend this foundation step by step to add navigation, login/logout, and user-aware layouts.
Tip
You can browse the source code of the User Module in the pos-module-user repository to see every page and helper it provides.
Before we explore the User Module in detail, follow the steps below to set up your environment and prepare a clean project.
Step 1: Create a new instance
Sign in to the Partner Portal and create a new instance:
Example instance name:
user-module-test-00
For more details, refer to the Create an instance guide.
Step 2: Create your project folder
Create the directory for your project and initialize an empty platformOS project:
mkdir user-module-test-00
cd user-module-test-00
This folder will become your project root.
Step 3: Add and authenticate your environment
Connect your local project to your new instance:
pos-cli env add --url https://user-module-test-00.staging.oregon.platform-os.com staging
A browser window will open prompting you to authorize the connection. For further explanation, see Authenticate your environment.
Step 4: Install the User Module
To work with authentication and profiles, your application needs the User Module. Install it with the following command, which will also automatically download the module source code and all its dependencies:
pos-cli modules install user
As this is a fresh project folder, you may be prompted to create the standard app/ directory structure. Confirm when asked, for example:
The directory /Users/alexpozsar/platformos/user-module-test-02/app does not exist. Do you want to create it? (y/n):y
After the module is installed, deploy your project:
pos-cli deploy staging
At this point, your instance includes all necessary endpoints: login, registration, password reset, two-factor authentication, OAuth handlers, and more. You will connect these pages to your application later through navigation.
Step 5: Create the necessary folders
Before adding your own pages, set up the basic directory structure your application will use.
In platformOS, page templates live inside the app/views/pages directory, so start by creating it:
mkdir -p app/views/pages
mkdir -p app/views/layouts
The -p flag allows you to create nested directories in one step.
Tip
Learn more about the recommended directory layout in the Directory Structure section of the Developer Guide.
You can have multiple files with the same path across modules and overrides. Clear structure helps you stay oriented and makes it easier to understand how your application is composed.
Create the layout file
Next, create the default layout that all pages will use:
app/views/layouts/application.liquid
You will add navigation and UI elements here as you progress through the tutorial.
Step 6: Configure Common Styling
The Common Styling module is installed automatically as a dependency of the User Module. However, for its design system to take effect, you need to activate and configure it in your main layout.
Common Styling provides the base CSS, form styling, and UI components used across all platformOS modules, including the pages that come with the User Module. By loading it in your layout, you ensure that the login, registration, and profile pages look consistent and match the styling of your own application.
Open your application layout and replace its content with the following:
app/views/layouts/application.liquid
<!DOCTYPE html>
<html class="pos-app">
 <head>
   <meta charset="utf-8">
   <meta name="viewport" content="width=device-width, initial-scale=1.0">
   <meta content="authenticity_token" name="csrf-param">
   <meta content="{{ form_authenticity_token }}" name="csrf-token">

   {% comment %} Default platformOS styles {% endcomment %}
   {% render 'modules/common-styling/init' %}
   <link rel="stylesheet" href="{{ 'modules/user/style/pos-user-form.css' | asset_url }}">

   {% comment %} Custom project styles {% endcomment %}
   <link rel="stylesheet" href="{{ 'style/app.css' | asset_url }}">

   <script>
     if (typeof window.pos !== 'object') {
       window.pos = {};
       window.pos.modules = {};
       window.pos.translations = {};
     }
   </script>

   <title>User Management Application | platformOS</title>
 </head>

 <body>
   {{ content_for_layout }}

{% liquid
  render 'modules/common-styling/toasts'
%}

   <script src="{{ 'scripts/app.js' | asset_url }}"></script>
 </body>
</html>
Save and deploy (or sync) the changes.
For advanced configuration and customization options, refer to the Common Styling documentation, or visit the built-in /style-guide page on your instance to explore all available components.
Step 7: Create the Homepage
Now that the environment is set up, create the homepage of your project: app/views/pages/index.liquid
Add the following content:
app/views/pages/index.liquid
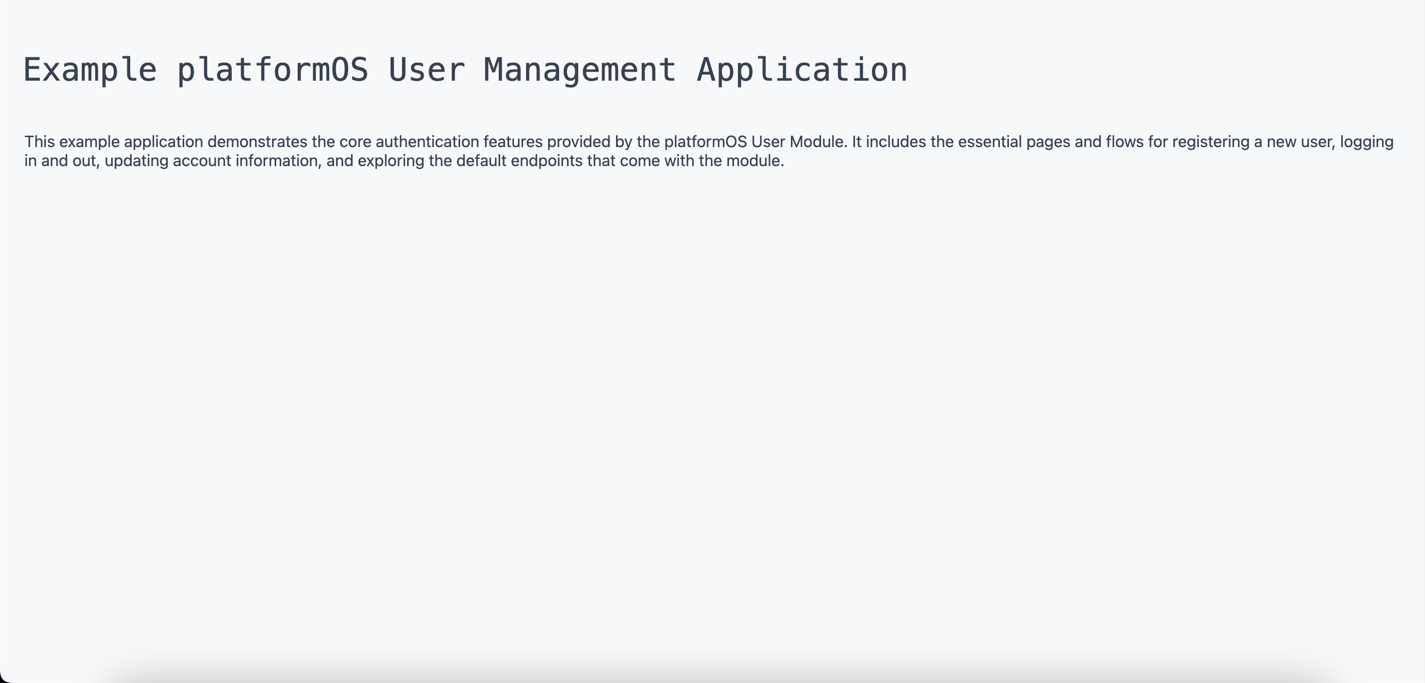
<h2 class="pos-heading-2">Example platformOS User Management Application</h2>

<p>
  This example application demonstrates the core authentication features provided
  by the platformOS User Module. It includes the necessary pages and flows for
  registering a new user, logging in and out, updating account information, and
  exploring the default endpoints that come with the module.
</p>
Deploy/sync your changes and reload your instance to confirm the page loads correctly. If Common Styling is configured correctly, the heading and text should display using the default typography and spacing: